本文为计算机图形学作业2报告, 为本人计算机图形学课程作业, 仅供参考, 未经允许不得转载, 抄袭.
1.引言
内容应包含但不局限于项目名称,项目简介。篇幅占整体内容的10%
本次作业在第一次作业的基础上,增加一个bezier曲面,并对场景添加光照和纹理效果。具体要求如下:
以bezier曲面模拟一面旗帜,曲面至少包含5*5个控制点;
在场景中使用phong光照模型来得到合理的光照效果;
对场景中的模型添加纹理贴图, 图片自行选择,不同类型的模型采用不同的贴图。
2. 主体介绍 2.1 程序简介
编程环境
MacOS,C++11,IDE: CLion,cmake,使用OpenGL,Glad,GLFW3.3.8,glm0.9.9.1
文件结构
1 2 3 4 5 6 7 8 9 10 11 12 13 14 15 16 17 (base) alanzeng@AlandeMacBook-Pro CGA2 % tree CGA2 ├── 1.model_loading.fs ├── 1.model_loading.vs ├── BezierFace.cpp ├── CMakeLists.txt ├── OBJ_Files ├── TJU.jpg ├── cmake-build-debug ├── glad ├── glm-0.9.9.1 ├── includes │ ├── BezierFace.h │ ├── camera.h │ ├── shader.h │ └── stb_image.h └── model_loading.cpp
2.2 算法
在这一部分需要描述你的项目实现过程中用了哪些算法,需要你从算法背后的原理入手结合自己的项目进行描述,切忌段落式的粘贴代码,如果是自己写的算法,进行适当的算法复杂度分析。
注:一定要结合自己的项目去写这一部分,落到实处,切忌直接从网上直接粘贴理论知识。
Phong光照模型 Phong光照模型是计算三维计算机图形中光照效果的经典方法之一,它被广泛用于渲染三维场景和物体。Phong光照模型考虑了三种主要的光照成分:环境光、漫反射光和镜面光。
环境光(Ambient Light): 环境光是物体表面上的均匀光照,不依赖于光源的方向。它用于模拟场景中光源以外的间接光照明。环境光通常是一个常数,用来表示整体光照的强度。
漫反射光(Diffuse Light): 漫反射光是光线以角度入射到物体表面并均匀反射的光。它依赖于光线入射角和物体表面的法线(法向量),这个成分使物体的表面看起来具有粗糙的外观。漫反射光的强度在表面上不均匀,取决于入射角度和法向量之间的夹角。
镜面光(Specular Light): 镜面光是光线以特定角度入射到物体表面并以同样的角度反射的光,类似于镜面反射。这个成分使物体的表面看起来光滑,具有高光亮度。镜面光的强度取决于入射光线的方向、视线方向和物体的材质属性。
Phong光照模型可以表示为以下方程:
$$
其中:
$I$ 是最终的光照强度。
$k_a$、$k_d$、$k_s$ 分别是环境光、漫反射光和镜面光的系数。
$I_a$、$I_d$、$I_s$ 分别是环境光、漫反射光和镜面光的颜色强度。
$N$ 是表面法向量。
$L$ 是入射光线的方向向量。
$R$ 是反射光线的方向向量。
$V$ 是视线方向向量。
$n$ 是材质的镜面反射指数。
在片段着色器中, 运用Phong光照模型进行计算
片段着色器中定义了Material(材质)和Light(光照)结构体
1 2 3 4 5 6 7 8 9 10 11 12 13 14 15 16 17 18 19 20 struct Material { sampler2D diffuse; vec3 specular; float shininess; }; struct Light { vec3 position; vec3 direction; float cutOff; float outerCutOff; vec3 ambient; vec3 diffuse; vec3 specular; float constant; float linear; float quadratic; };
具体算法实现
1 2 3 4 5 6 7 8 9 10 11 12 13 14 15 16 17 18 19 20 21 22 23 24 25 26 27 28 29 30 31 32 33 34 void main () vec3 ambient = light.ambient * texture (material.diffuse, TexCoords).rgb; vec3 norm = normalize (Normal); vec3 lightDir = normalize (light.position - FragPos); float diff = max (dot (norm, lightDir), 0.0 ); vec3 diffuse = light.diffuse * diff * texture (material.diffuse, TexCoords).rgb; vec3 viewDir = normalize (viewPos - FragPos); vec3 reflectDir = reflect (-lightDir, norm); float spec = pow (max (dot (viewDir, reflectDir), 0.0 ), material.shininess); vec3 specular = light.specular * (spec * material.specular); float theta = dot (lightDir, normalize (-light.direction)); float epsilon = (light.cutOff - light.outerCutOff); float intensity = clamp ((theta - light.outerCutOff) / epsilon, 0.0 , 1.0 ); diffuse *= intensity; specular *= intensity; float distance = length (light.position - FragPos); float attenuation = 1.0 / (light.constant + light.linear * distance + light.quadratic * (distance * distance)); ambient *= attenuation; diffuse *= attenuation; specular *= attenuation; vec3 result = ambient + diffuse + specular; FragColor = vec4 (result, 1.0 ); }
BezierFace 贝塞尔曲面(Bezier Surface)是一种用于三维图形和计算机辅助设计(CAD)中的曲面表示方法。它是由法国工程师皮埃尔·贝塞尔(Pierre Bézier)于20世纪50年代发明的,并在汽车设计领域广泛应用。贝塞尔曲面由多个控制点定义,这些点控制了曲面的形状。它是一种常用的二次和三次曲面建模技术。ß
贝塞尔曲面的定义基于控制点和基函数。控制点是用来确定曲面的形状的点,而基函数是一种数学函数,它们根据控制点的位置来计算曲面上的点。一般来说,贝塞尔曲面是由两个参数u和v来定义的,这些参数的范围通常是从0到1。
一个常见的二次贝塞尔曲面可以用以下公式来表示:
$$
其中,P0到P8是控制点的坐标,(u, v)是曲面上的点坐标。这个公式描述了如何根据控制点的位置以及参数u和v的值来计算曲面上的点。
贝塞尔曲面的优点之一是它在控制点的位置和权重上具有直观性,可以通过移动控制点来调整曲面的形状。此外,贝塞尔曲面是局部控制的,这意味着一个控制点的改变只会影响曲面上的局部区域。
在计算机图形中,贝塞尔曲面通常用于建模、渲染和处理复杂的曲面形状,例如汽车外壳、船体、飞机机身等。
本次实验中,我们要构建一个由$5\times5$控制点构成的贝塞尔曲面, 具体的实现请见2.3.3 BezierFace.h
纹理贴图 纹理贴图是计算机图形学中强大且广泛应用的技术,它可以增强三维场景的真实感和视觉质量。不同类型的纹理和纹理技术可以用来模拟各种不同的视觉效果,从基本的颜色贴图到复杂的环境映射和法线贴图。
在本次实验中我们使用了stb_image库来加载贴图, 通过一下方法来具体实现纹理贴图
1 2 3 4 5 6 7 8 9 10 11 12 13 14 15 16 17 18 19 20 21 unsigned int textureID; glGenTextures (1 , &textureID); glBindTexture (GL_TEXTURE_2D, textureID); glTexParameteri (GL_TEXTURE_2D, GL_TEXTURE_WRAP_S, GL_REPEAT); glTexParameteri (GL_TEXTURE_2D, GL_TEXTURE_WRAP_T, GL_REPEAT); glTexParameteri (GL_TEXTURE_2D, GL_TEXTURE_MIN_FILTER, GL_LINEAR_MIPMAP_LINEAR); glTexParameteri (GL_TEXTURE_2D, GL_TEXTURE_MAG_FILTER, GL_LINEAR); int width, height, nrComponents; stbi_set_flip_vertically_on_load (true ); unsigned char * data = stbi_load (path, &width, &height, &nrComponents, 0 ); if (data) { glTexImage2D (GL_TEXTURE_2D, 0 , GL_RGB, width, height, 0 , GL_RGB, GL_UNSIGNED_BYTE, data); glGenerateMipmap (GL_TEXTURE_2D); } else { std::cout << "Texture failed to load at path: " << path << std::endl; } stbi_image_free (data); return textureID;
2.3 实现细节 在这一部分,将自己的项目拆解成各个部分进行说明。切忌段落式的粘贴代码。
第二章应占整体篇幅的40%。
2.3.1 shader.h 与上课时给出的shader.h代码相同
使用C++文件流读取着色器内容,储存到几个string对象里
以下实现了对着色器的编译和链接
1 2 3 4 5 6 7 8 9 10 11 12 13 14 15 16 17 18 19 20 unsigned int vertex, fragment;vertex = glCreateShader (GL_VERTEX_SHADER); glShaderSource (vertex, 1 , &vShaderCode, NULL );glCompileShader (vertex);checkCompileErrors (vertex, "VERTEX" );fragment = glCreateShader (GL_FRAGMENT_SHADER); glShaderSource (fragment, 1 , &fShaderCode, NULL );glCompileShader (fragment);checkCompileErrors (fragment, "FRAGMENT" );ID = glCreateProgram (); glAttachShader (ID, vertex);glAttachShader (ID, fragment);glLinkProgram (ID);checkCompileErrors (ID, "PROGRAM" );glDeleteShader (vertex);glDeleteShader (fragment);
定义了
1 void use () const glUseProgram (ID); }
2.3.2 camera.h 提供ProcessKeyboard, ProcessMouseMovement, ProcessMouseScroll方法,用于实现鼠标键盘控制
Camera 类 定义了位置,接收变化的变量,欧拉角,选项和构造函数,此外还有键盘鼠标操作函数和相机更新函数
1 2 3 4 5 6 7 8 9 10 11 12 13 14 15 16 17 18 19 20 21 22 23 24 25 26 27 28 29 30 31 32 33 34 35 36 37 38 39 40 41 42 43 44 45 46 47 48 49 50 51 52 class Camera { public : glm::vec3 Position; glm::vec3 Front; glm::vec3 Up; glm::vec3 Right; glm::vec3 WorldUp; float Yaw; float Pitch; float MovementSpeed; float MouseSensitivity; float Zoom; Camera (glm::vec3 position = glm::vec3 (0.0f , 0.0f , 0.0f ), glm::vec3 up = glm::vec3 (0.0f , 1.0f , 0.0f ), float yaw = YAW, float pitch = PITCH) : Front (glm::vec3 (0.0f , 0.0f , -1.0f )), MovementSpeed (SPEED), MouseSensitivity (SENSITIVITY), Zoom (ZOOM) { Position = position; WorldUp = up; Yaw = yaw; Pitch = pitch; updateCameraVectors (); } Camera (float posX, float posY, float posZ, float upX, float upY, float upZ, float yaw, float pitch) : Front (glm::vec3 (0.0f , 0.0f , -1.0f )), MovementSpeed (SPEED), MouseSensitivity (SENSITIVITY), Zoom (ZOOM) { Position = glm::vec3 (posX, posY, posZ); WorldUp = glm::vec3 (upX, upY, upZ); Yaw = yaw; Pitch = pitch; updateCameraVectors (); } glm::mat4 GetViewMatrix () { return glm::lookAt (Position, Position + Front, Up); } };
ProcessKeyboard处理从任何类似键盘的输入系统接收的输入
1 2 3 4 5 6 7 8 9 10 11 12 13 14 15 16 void ProcessKeyboard (Camera_Movement direction, float deltaTime) { float velocity = MovementSpeed * deltaTime; if (direction == FORWARD) Position += Front * velocity; if (direction == BACKWARD) Position -= Front * velocity; if (direction == LEFT) Position -= Right * velocity; if (direction == RIGHT) Position += Right * velocity; if (direction == DOWN) Position -= Up * velocity; if (direction == UP) Position += Up * velocity; }
ProcessMouseMovement处理从鼠标输入系统接收的输入。期望x和y方向上的偏移值。
1 2 3 4 5 6 7 8 9 10 11 12 13 14 15 16 17 18 19 20 void ProcessMouseMovement (float xoffset, float yoffset, GLboolean constrainPitch = true ) { xoffset *= MouseSensitivity; yoffset *= MouseSensitivity; Yaw += xoffset; Pitch += yoffset; if (constrainPitch) { if (Pitch > 89.0f ) Pitch = 89.0f ; if (Pitch < -89.0f ) Pitch = -89.0f ; } updateCameraVectors (); }
ProcessMouseScroll处理从鼠标滚轮事件接收的输入。只需要在垂直轮轴上输入
1 2 3 4 5 6 7 8 void ProcessMouseScroll (float yoffset) { Zoom -= (float )yoffset; if (Zoom < 1.0f ) Zoom = 1.0f ; if (Zoom > 45.0f ) Zoom = 45.0f ; }
updateCameraVectors
1 2 3 4 5 6 7 8 9 10 11 12 void updateCameraVectors () { glm::vec3 front; front.x = cos (glm::radians (Yaw)) * cos (glm::radians (Pitch)); front.y = sin (glm::radians (Pitch)); front.z = sin (glm::radians (Yaw)) * cos (glm::radians (Pitch)); Front = glm::normalize (front); Right = glm::normalize (glm::cross (Front, WorldUp)); Up = glm::normalize (glm::cross (Right, Front)); }
2.3.3 BezierFace.h 定义类贝塞尔曲面类, 其中包含顶点个数, 索引个数, 顶点, 法线, 纹理, 索引, 控制点, 曲线阶数等等属性
1 2 3 4 5 6 7 8 9 10 11 12 13 14 15 16 17 18 19 20 21 22 23 24 25 26 27 28 29 30 31 32 33 34 35 36 37 38 39 #pragma once #include <vector> #include <glm/glm.hpp> using namespace std;class BezierFace { int numVertices; int numIndices; vector<glm::vec3> vertices; vector<glm::vec3> normals; vector<glm::vec2> texCoords; vector<int > indices; void init (int prec) float * controlPoints; vector<glm::vec3> controlPointsVector; int step; float toRadians (float degrees) float Bernstein (float u, int index) public : BezierFace () = default ; BezierFace (int step, float controlPoints[], int prec); int getNumVertices () int getNumIndices () vector<glm::vec3> getVertices () ; vector<glm::vec3> getNormals () ; vector<glm::vec2> getTexCoords () ; vector<int > getIndices () ; };
构造函数 1 2 3 4 5 6 BezierFace::BezierFace (int step, float controlPoints[], int prec) { this ->step = step; this ->controlPoints = controlPoints; init (prec); }
void init(int prec)具体实现(在BezierFace.cpp中) 该函数实现了Bezier曲面初始化
这个初始化过程将为Bezier曲面提供一个网格,其中包含离散的顶点、法线和纹理坐标,以及定义曲面几何的索引。在实验的后续部分,我们将使用这些数据来渲染Bezier曲面并展示其效果。
1 2 3 4 5 6 7 8 9 10 11 12 13 14 15 16 17 18 19 20 21 22 23 24 25 26 27 28 29 30 31 32 33 34 35 36 37 38 39 40 41 42 43 44 45 46 47 48 49 50 51 52 53 54 55 void BezierFace::init (int prec) numVertices = (prec + 1 ) * (prec + 1 ); numIndices = prec * prec * 6 ; for (int i = 0 ; i < numVertices; i++) { vertices.push_back (glm::vec3 ()); normals.push_back (glm::vec3 ()); texCoords.push_back (glm::vec2 ()); } for (int i = 0 ; i < numIndices; i++) { indices.push_back (0 ); } for (int i = 0 ; i < (step + 1 ) * (step + 1 ) * 3 ; i += 3 ) { controlPointsVector.push_back (glm::vec3 (controlPoints[i], controlPoints[i + 1 ], controlPoints[i + 2 ])); } for (int i = 0 ; i <= prec; i++) { for (int j = 0 ; j <= prec; j++) { float x = 0.0f ; float y = 0.0f ; float z = 0.0f ; float u = (float )i / prec; float v = (float )j / prec; for (int ii = 0 ; ii <= step; ii++) { for (int jj = 0 ; jj <= step; jj++) { int index = ii * (step + 1 ) + jj; x += controlPointsVector[index].x * Bernstein (u, ii) * Bernstein (v, jj); y += controlPointsVector[index].y * Bernstein (u, ii) * Bernstein (v, jj); z += controlPointsVector[index].z * Bernstein (u, ii) * Bernstein (v, jj); } } vertices[i * (prec + 1 ) + j] = glm::vec3 (x, y, z); normals[i * (prec + 1 ) + j] = glm::vec3 (x, y, z); texCoords[i * (prec + 1 ) + j] = glm::vec2 ((float )j / prec, (float )i / prec); } } for (int i = 0 ; i < prec; i++) { for (int j = 0 ; j < prec; j++) { indices[6 * (i * prec + j) + 0 ] = i * (prec + 1 ) + j; indices[6 * (i * prec + j) + 1 ] = i * (prec + 1 ) + j + 1 ; indices[6 * (i * prec + j) + 2 ] = (i + 1 ) * (prec + 1 ) + j; indices[6 * (i * prec + j) + 3 ] = i * (prec + 1 ) + j + 1 ; indices[6 * (i * prec + j) + 4 ] = (i + 1 ) * (prec + 1 ) + j + 1 ; indices[6 * (i * prec + j) + 5 ] = (i + 1 ) * (prec + 1 ) + j; } } }
Bernstein函数 初始化函数中可以看到其中使用了Bernstein函数, 在Bezier曲线和Bezier曲面的计算中,Bernstein基函数(Bernstein basis functions)起着重要的作用。它们是一组多项式函数,用于确定Bezier曲线和曲面上的点的位置。
1 2 3 4 5 6 7 8 9 10 11 12 13 14 15 16 17 18 19 20 21 float BezierFace::Bernstein (float t, int index) switch (index) { default : case 0 : return pow (1.0 - t, 4 ); break ; case 1 : return 4 * t * pow (1.0 - t, 3 ); break ; case 2 : return 6 * pow (t, 2 ) * pow (1.0 - t, 2 ); break ; case 3 : return 4 * pow (t, 3 ) * (1.0 - t); break ; case 4 : return pow (t, 4 ); break ; } }
2.3.4 Model模型
具体实现和实验一中完全一致, 不再赘述
2.3.5 Mesh
具体实现和实验一中完全一致, 不再赘述
2.3.6 model_loading(Main方法) 主方法
加载Shader,Model,Camera
Camera camera(glm::vec3(0.0f, 0.0f, 10.0f));Shader ourShader("../1.model_loading.vs", "../1.model_loading.fs");Model ourModel("../OBJ_Files/airboat.obj");
鼠标键盘操作基于实验一, 这里不再赘述
首先引用相关的库, 其中通过#define STB_IMAGE_IMPLEMENTATION将stb_image.h编译为cpp文件使用
1 2 3 4 5 6 7 8 9 10 11 12 13 14 15 16 17 #define STB_IMAGE_IMPLEMENTATION #include <glad/glad.h> #include <GLFW/glfw3.h> #include <glm/glm.hpp> #include <glm/gtc/matrix_transform.hpp> #include <stb_image.h> #include <shader.h> #include <camera.h> #include <model.h> #include <mesh.h> #include <BezierFace.h> #include <iostream>
定义函数, 和一些基本参数
包含鼠标, 键盘控制函数, 对于贝塞尔曲面顶点的加载, 纹理的加载
1 2 3 4 5 6 7 void mouse_callback (GLFWwindow* window, double xpos, double ypos) void mouse_button_callback (GLFWwindow* window, int button, int action, int mods) void scroll_callback (GLFWwindow* window, double xoffset, double yoffset) void processInput (GLFWwindow *window) void setUpVertices () unsigned int loadTexture (char const * path) void framebuffer_size_callback (GLFWwindow* window, int width, int height)
基本参数: 窗口大小, 相机, 光照, 时间以及贝塞尔曲面控制点位置
此处控制点数组存有75个元素, 对应25(5*5)个控制点
1 2 3 4 5 6 7 8 9 10 11 12 13 14 15 16 17 18 19 20 21 22 23 24 25 26 27 28 29 30 31 32 33 34 35 36 37 38 39 40 41 42 43 44 45 46 47 48 const unsigned int SCR_WIDTH = 800 ;const unsigned int SCR_HEIGHT = 600 ;Camera camera (glm::vec3(0.5f , 0.5f , 3.5f )) ;float lastX = SCR_WIDTH / 2.0f ;float lastY = SCR_HEIGHT / 2.0f ;bool firstMouse = true ;float deltaTime = 0.0f ;float lastFrame = 0.0f ;glm::vec3 lightPos (0.5f , 0.5f , 2.0f ) ;float controlPoints[] = { -1.5 , -1.5 , 2.0 , -0.5 , -1.5 , 2.0 , 0.0 , -1.5 , 1.0 , 0.5 , -1.5 , -1.0 , 1.5 , -1.5 , 2.0 , -1.5 , -0.5 , 1.0 , -0.5 , 1.5 , 2.0 , 0.0 , 0.5 , -1.0 , 0.5 , 0.5 , 1.0 , 1.5 , -0.5 , -1.0 , -1.5 , 0.0 , 0.0 , -0.5 , -1.5 , -1.0 , 0.0 , 0.0 , 0.0 , 0.5 , -1.0 , 2.0 , 1.5 , 1.0 , 0.0 , -1.5 , 0.5 , 2.0 , -0.5 , 0.5 , 1.0 , 0.0 , 0.5 , 1.0 , 0.5 , 0.5 , 1.0 , 1.5 , -1.5 , 1.5 , -1.5 , 1.5 , -2.0 , -0.5 , 1.5 , -2.0 , 0.0 , 1.5 , 2.0 , 0.5 , 0.5 , 1.0 , 1.5 , 1.5 , -1.0 }; BezierFace myBezier = BezierFace (4 , controlPoints, 100 ); GLuint VAO, VBO[3 ];
初始化, 加载窗口
这部分代码固定不变, 同时打开了深度检测
1 2 3 4 5 6 7 8 9 10 11 12 13 14 15 16 17 18 19 20 21 22 23 24 25 26 27 28 29 30 31 32 33 34 35 36 37 38 39 glfwInit (); glfwWindowHint (GLFW_CONTEXT_VERSION_MAJOR, 3 ); glfwWindowHint (GLFW_CONTEXT_VERSION_MINOR, 3 ); glfwWindowHint (GLFW_OPENGL_PROFILE, GLFW_OPENGL_CORE_PROFILE); #ifdef __APPLE__ glfwWindowHint (GLFW_OPENGL_FORWARD_COMPAT, GL_TRUE); #endif GLFWwindow* window = glfwCreateWindow (SCR_WIDTH, SCR_HEIGHT, "ModelLoading" , NULL , NULL ); if (window == NULL ) { std::cout << "Failed to create GLFW window" << std::endl; glfwTerminate (); return -1 ; } glfwMakeContextCurrent (window); glfwSetFramebufferSizeCallback (window, framebuffer_size_callback); glfwSetMouseButtonCallback (window,mouse_button_callback); glfwSetScrollCallback (window, scroll_callback); glfwSetInputMode (window, GLFW_CURSOR, GLFW_CURSOR_DISABLED); if (!gladLoadGLLoader ((GLADloadproc)glfwGetProcAddress)) { std::cout << "Failed to initialize GLAD" << std::endl; return -1 ; } glEnable (GL_DEPTH_TEST);
配置shader和model, 以及贝塞尔曲面的顶点和纹理信息
这里贴图采用了天津大学的校旗图案
1 2 3 4 5 6 7 8 9 Shader ourShader ("../1.model_loading.vs" , "../1.model_loading.fs" ) ; Model ourModel ("../OBJ_Files/airboat.obj" ) ; setUpVertices (); unsigned int texture = loadTexture ("../TJU.jpg" );
在循环中绘制图
其中为shader配置了参数, 因为单独添加Bezier曲面, Bezier曲面的信息单独在main函数中加载
1 2 3 4 5 6 7 8 9 10 11 12 13 14 15 16 17 18 19 20 21 22 23 24 25 26 27 28 29 30 31 32 33 34 35 36 37 38 39 40 41 42 43 44 45 46 47 48 49 50 51 52 53 54 55 56 57 58 59 60 61 62 63 64 65 66 67 68 69 70 71 72 73 74 75 76 77 78 79 80 81 82 83 84 85 86 87 88 89 90 91 92 93 94 95 96 while (!glfwWindowShouldClose (window)) { float currentFrame = static_cast <float >(glfwGetTime ()); deltaTime = currentFrame - lastFrame; lastFrame = currentFrame; processInput (window); glClearColor (0.2f , 0.3f , 0.3f , 1.0f ); glClear (GL_COLOR_BUFFER_BIT | GL_DEPTH_BUFFER_BIT); ourShader.use (); ourShader.use (); ourShader.setVec3 ("light.position" , camera.Position); ourShader.setVec3 ("light.direction" , camera.Front); ourShader.setFloat ("light.cutOff" , glm::cos (glm::radians (12.5f ))); ourShader.setVec3 ("viewPos" , camera.Position); ourShader.setVec3 ("light.ambient" , 0.1f , 0.1f , 0.1f ); ourShader.setVec3 ("light.diffuse" , 0.8f , 0.8f , 0.8f ); ourShader.setVec3 ("light.specular" , 1.0f , 1.0f , 1.0f ); ourShader.setFloat ("light.constant" , 1.0f ); ourShader.setFloat ("light.linear" , 0.09f ); ourShader.setFloat ("light.quadratic" , 0.032f ); ourShader.setFloat ("material.shininess" , 32.0f ); ourShader.setVec3 ("material.specular" , 0.5f , 0.5f , 0.5f ); glm::mat4 projection = glm::perspective (glm::radians (camera.Zoom), (float )SCR_WIDTH / (float )SCR_HEIGHT, 0.1f , 100.0f ); glm::mat4 view = camera.GetViewMatrix (); ourShader.setMat4 ("projection" , projection); ourShader.setMat4 ("view" , view); glm::mat4 model = glm::mat4 (1.0f ); model = glm::translate (model, glm::vec3 (0.0f , 0.0f , 0.0f )); model = glm::scale (model, glm::vec3 (1.0f , 1.0f , 1.0f )); ourShader.setMat4 ("model" , model); model = glm::mat4 (1.0f ); model = glm::translate (model, lightPos); model = glm::scale (model, glm::vec3 (0.2f )); ourShader.setMat4 ("model" , model); ourShader.setMat4 ("projection" , projection); ourShader.setMat4 ("view" , view); ourShader.setMat4 ("transform" , glm::mat4 (1.0f )); glBindBuffer (GL_ARRAY_BUFFER, VBO[0 ]); glVertexAttribPointer (0 , 3 , GL_FLOAT, GL_FALSE, 0 , (void *)0 ); glEnableVertexAttribArray (0 ); glBindBuffer (GL_ARRAY_BUFFER, VBO[1 ]); glVertexAttribPointer (1 , 3 , GL_FLOAT, GL_FALSE, 0 , (void *)0 ); glEnableVertexAttribArray (1 ); glBindBuffer (GL_ARRAY_BUFFER, VBO[2 ]); glVertexAttribPointer (2 , 2 , GL_FLOAT, GL_FALSE, 0 , (void *)0 ); glEnableVertexAttribArray (2 ); glActiveTexture (GL_TEXTURE0); glBindTexture (GL_TEXTURE_2D, texture); glEnable (GL_CULL_FACE); glFrontFace (GL_CCW); glBindVertexArray (VAO); glDrawArrays (GL_TRIANGLES, 0 , myBezier.getNumIndices ()); glBindVertexArray (0 ); ourModel.Draw (ourShader); glfwSwapBuffers (window); glfwPollEvents (); }
最后终止
1 2 glfwTerminate (); return 0 ;
对这些函数进行实现
void mouse_callback(GLFWwindow* window, double xpos, double ypos);
void mouse_button_callback(GLFWwindow* window, int button, int action, int mods);
void scroll_callback(GLFWwindow* window, double xoffset, double yoffset);
void framebuffer_size_callback(GLFWwindow* window, int width, int height);
void processInput(GLFWwindow* window);
==void setUpVertices();==
==unsigned int loadTexture(char const* path);==
前五个函数处理键盘鼠标操作, 在实验一中有具体实现, 在此不再赘述, 此处展示setUpVertices()和loadTexture()方法, 用于实现Bezier曲面
1 2 3 4 5 6 7 8 9 10 11 12 13 14 15 16 17 18 19 20 21 22 23 24 25 26 27 28 29 30 31 32 33 34 35 36 37 38 39 40 41 42 43 44 45 46 47 48 49 50 51 52 53 54 55 56 57 58 59 60 void setUpVertices () vector<float > pvalues; vector<float > tvalues; vector<float > nvalues; vector<int > ind = myBezier.getIndices (); vector<glm::vec3> verts = myBezier.getVertices (); vector<glm::vec2> tex = myBezier.getTexCoords (); vector<glm::vec3> norm = myBezier.getNormals (); for (int i = 0 ; i < myBezier.getNumIndices (); i++) { pvalues.push_back (verts[ind[i]].x); pvalues.push_back (verts[ind[i]].y); pvalues.push_back (verts[ind[i]].z); tvalues.push_back (tex[ind[i]].s); tvalues.push_back (tex[ind[i]].t); nvalues.push_back (norm[ind[i]].x); nvalues.push_back (norm[ind[i]].y); nvalues.push_back (norm[ind[i]].z); } glGenVertexArrays (1 , &VAO); glGenBuffers (3 , VBO); glBindVertexArray (VAO); glBindBuffer (GL_ARRAY_BUFFER, VBO[0 ]); glBufferData (GL_ARRAY_BUFFER, pvalues.size () * 4 , &pvalues[0 ], GL_STATIC_DRAW); glBindBuffer (GL_ARRAY_BUFFER, VBO[1 ]); glBufferData (GL_ARRAY_BUFFER, nvalues.size () * 4 , &nvalues[0 ], GL_STATIC_DRAW); glBindBuffer (GL_ARRAY_BUFFER, VBO[2 ]); glBufferData (GL_ARRAY_BUFFER, tvalues.size () * 4 , &tvalues[0 ], GL_STATIC_DRAW); } unsigned int loadTexture (char const * path) unsigned int textureID; glGenTextures (1 , &textureID); glBindTexture (GL_TEXTURE_2D, textureID); glTexParameteri (GL_TEXTURE_2D, GL_TEXTURE_WRAP_S, GL_REPEAT); glTexParameteri (GL_TEXTURE_2D, GL_TEXTURE_WRAP_T, GL_REPEAT); glTexParameteri (GL_TEXTURE_2D, GL_TEXTURE_MIN_FILTER, GL_LINEAR_MIPMAP_LINEAR); glTexParameteri (GL_TEXTURE_2D, GL_TEXTURE_MAG_FILTER, GL_LINEAR); int width, height, nrComponents; stbi_set_flip_vertically_on_load (true ); unsigned char * data = stbi_load (path, &width, &height, &nrComponents, 0 ); if (data) { glTexImage2D (GL_TEXTURE_2D, 0 , GL_RGB, width, height, 0 , GL_RGB, GL_UNSIGNED_BYTE, data); glGenerateMipmap (GL_TEXTURE_2D); } else { std::cout << "Texture failed to load at path: " << path << std::endl; } stbi_image_free (data); return textureID; }
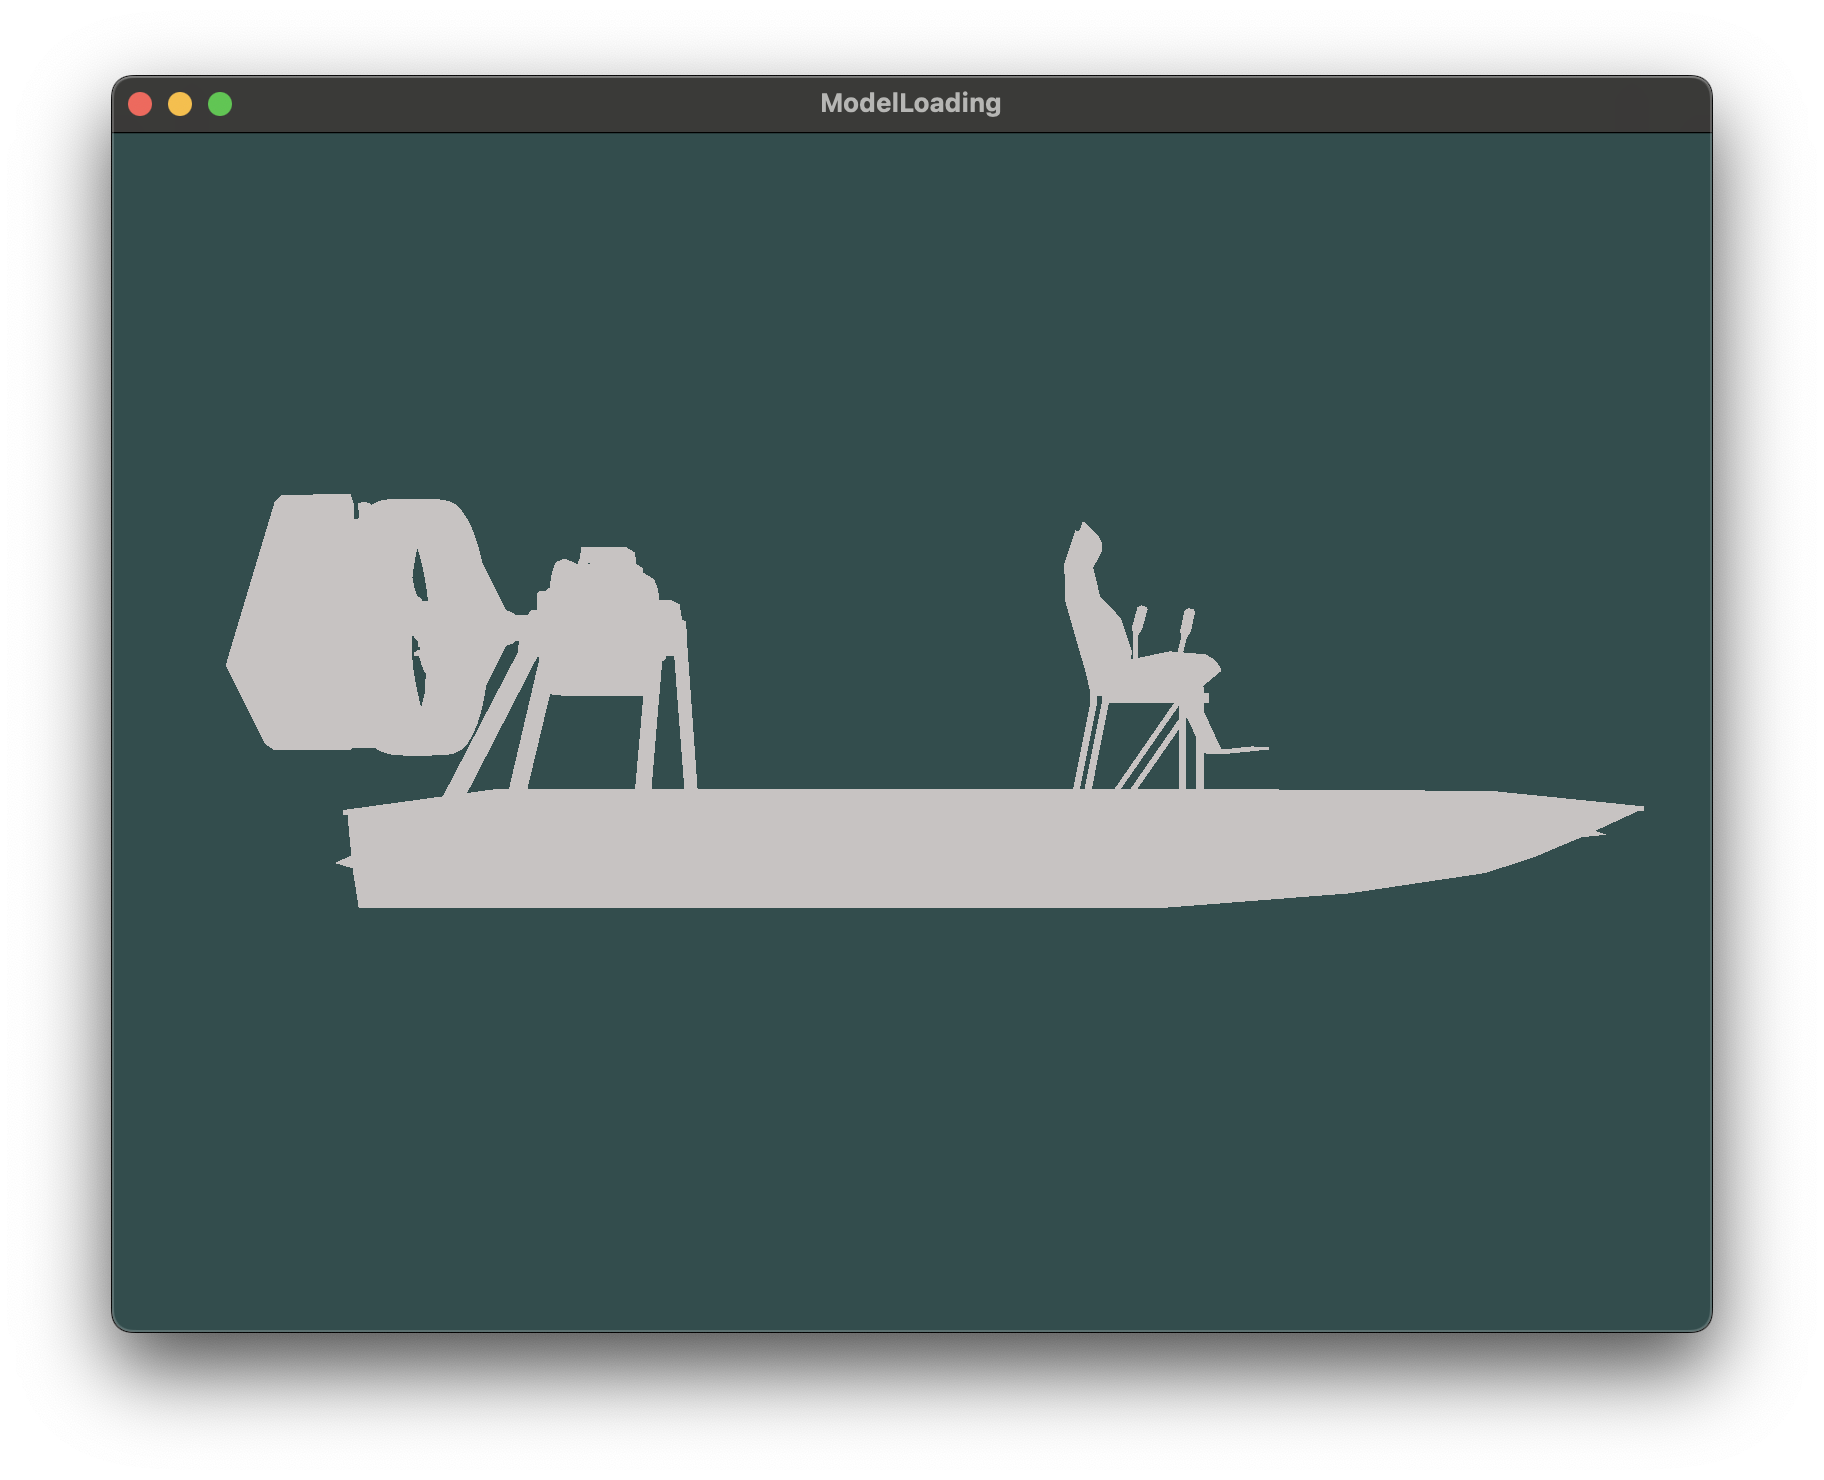
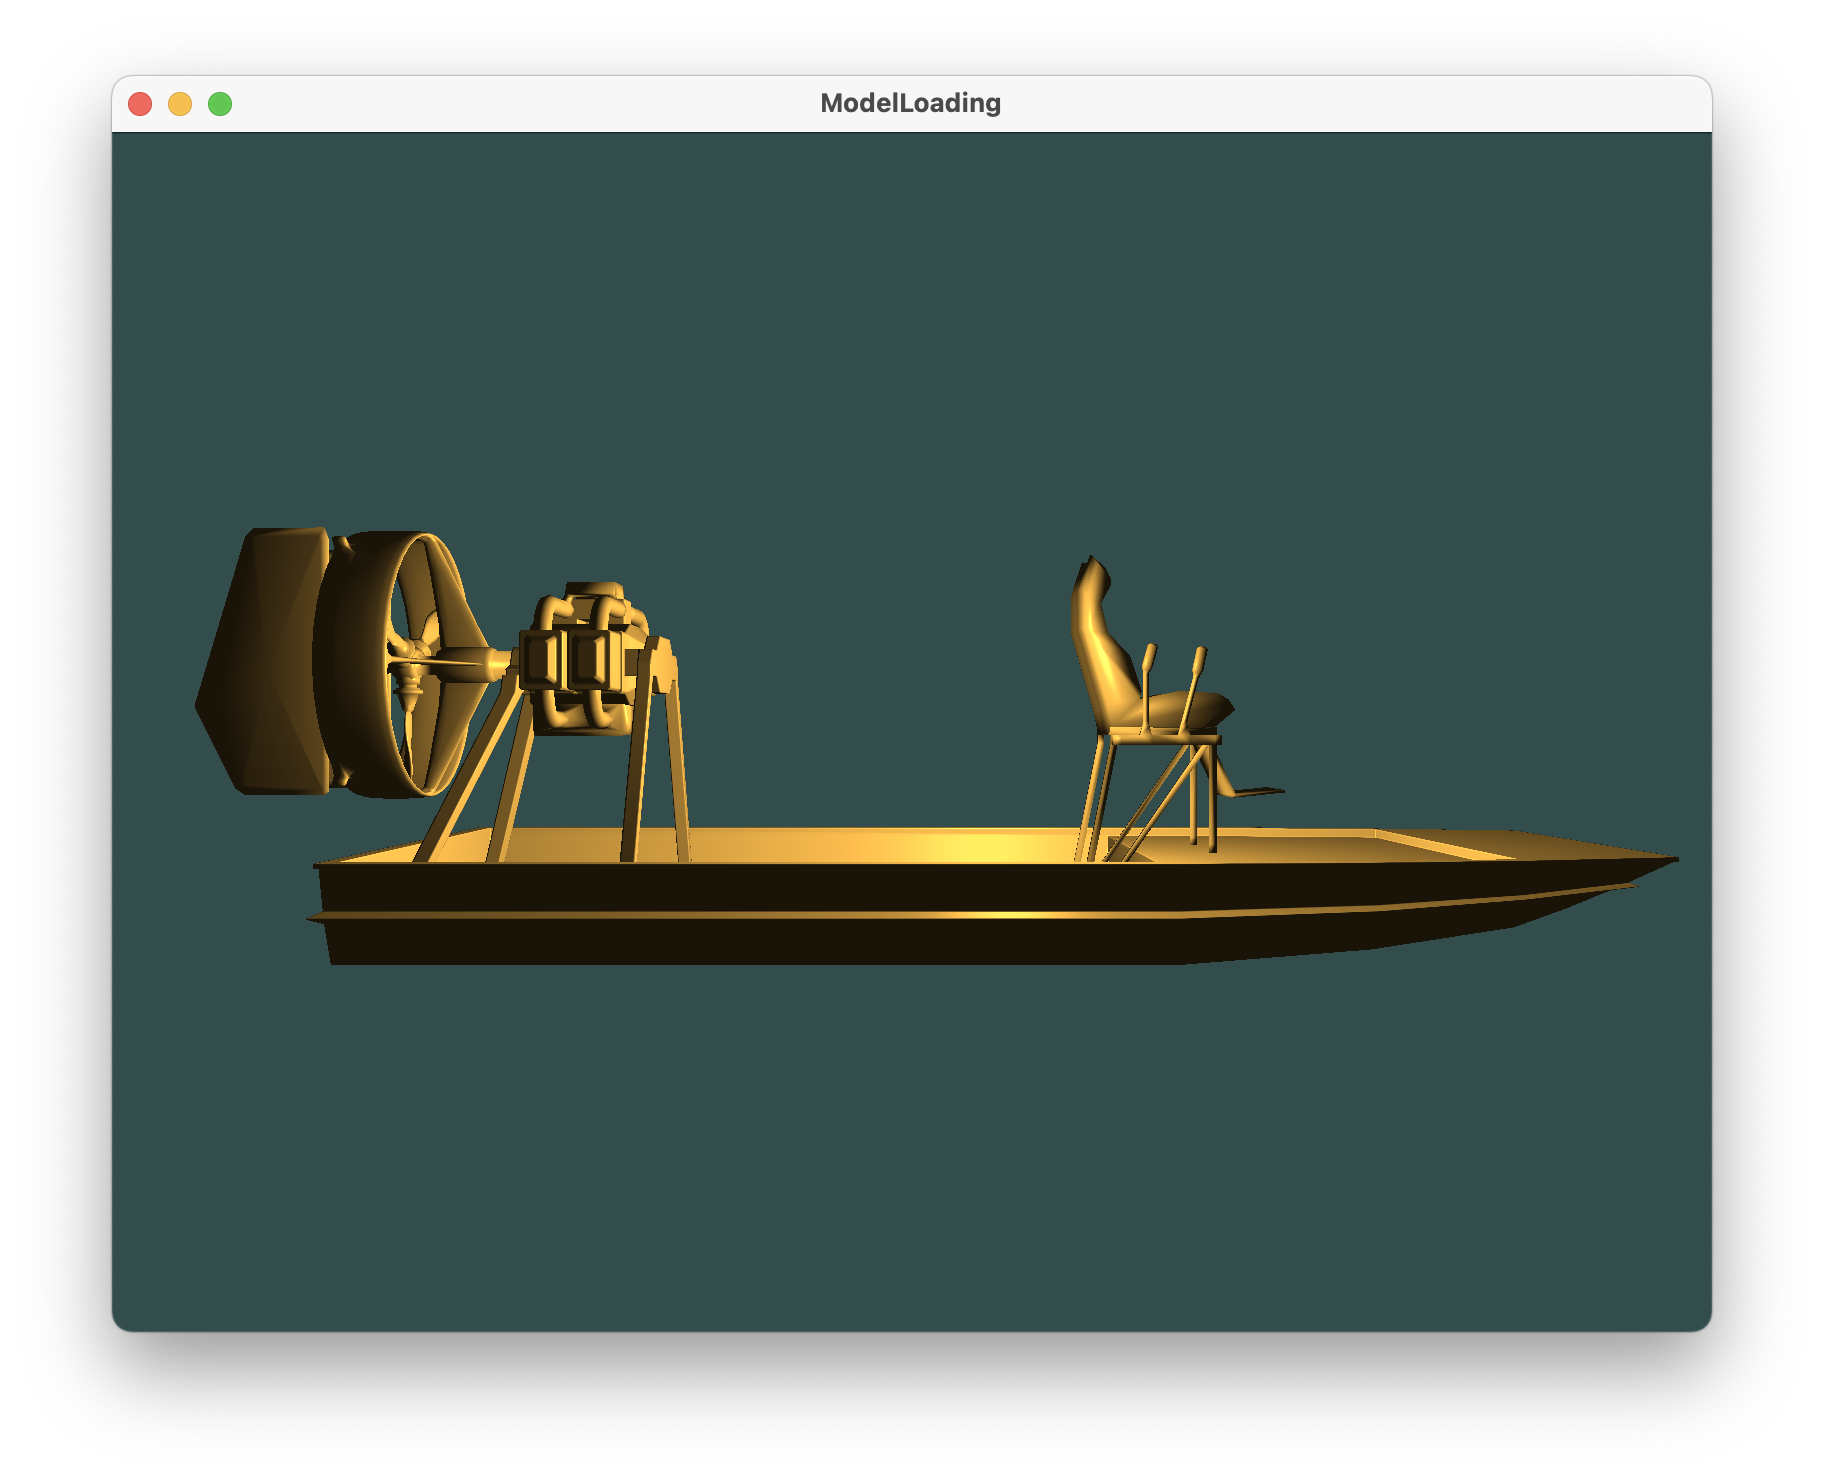
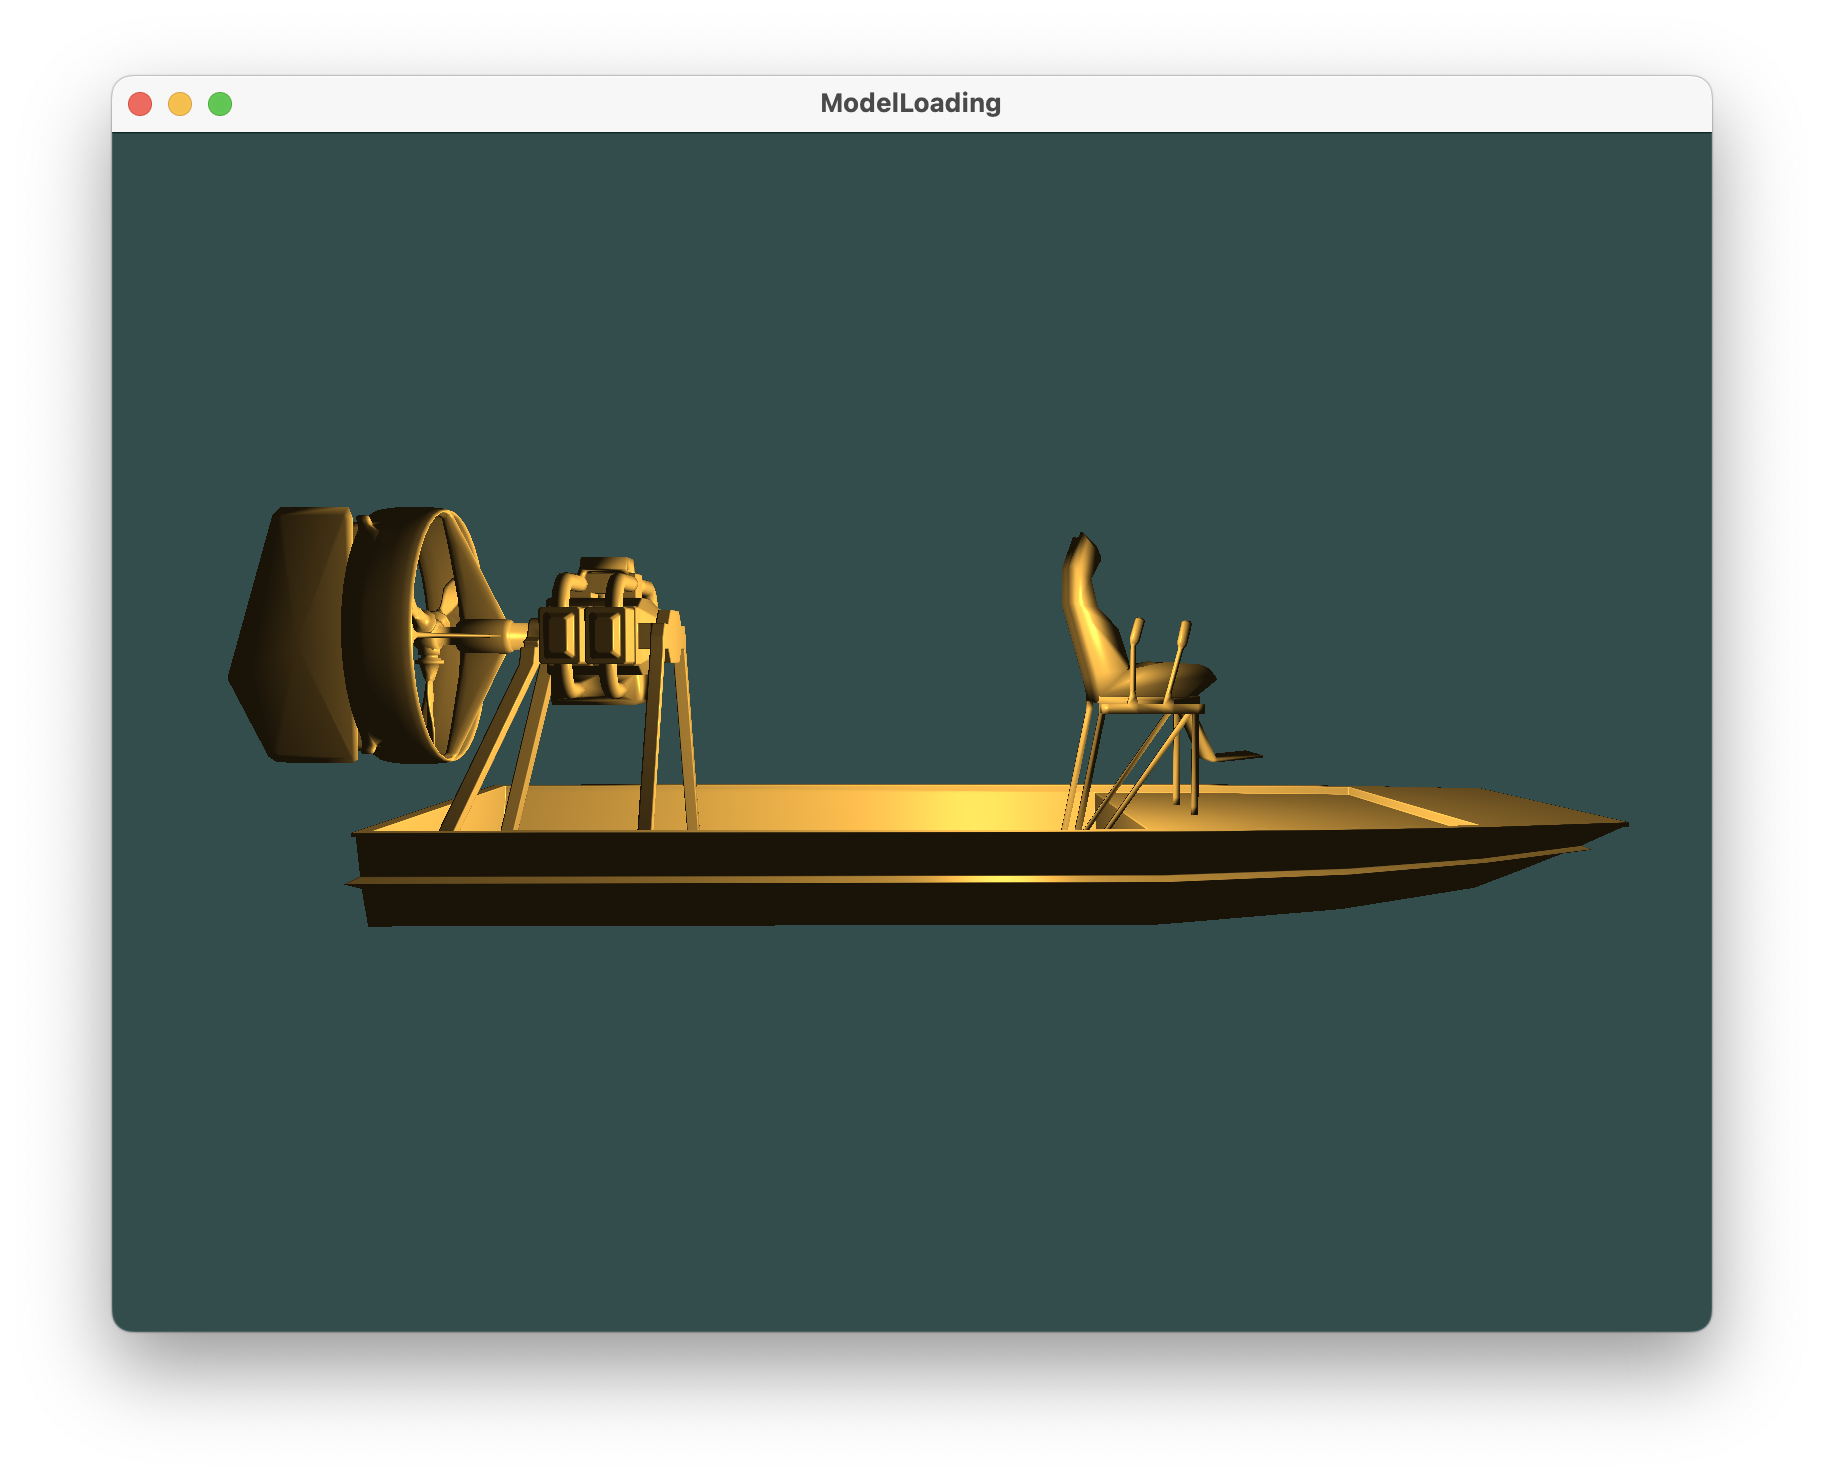
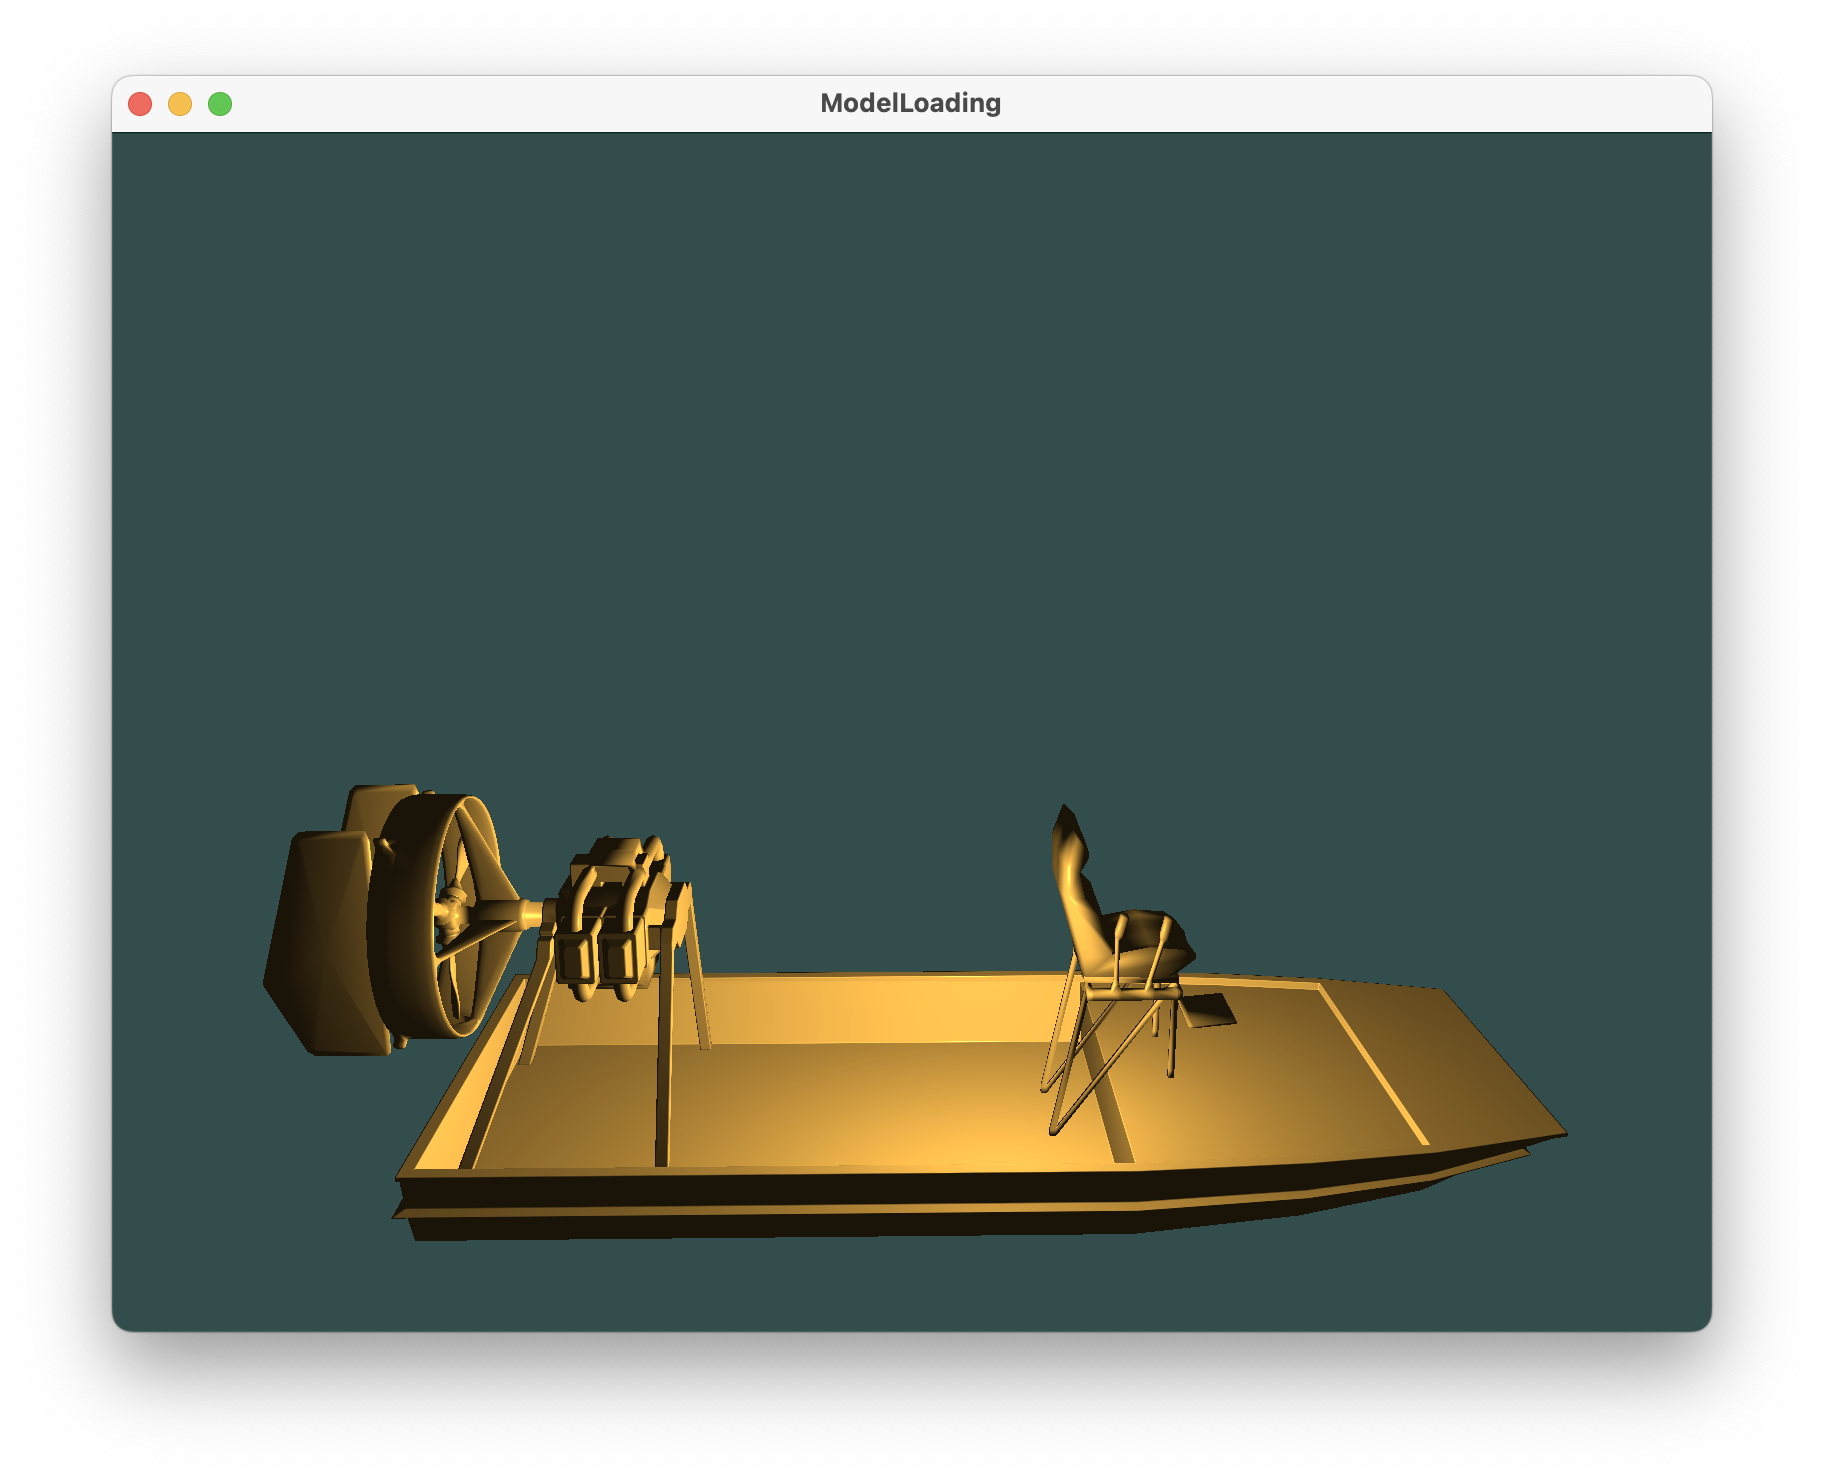
3. 结果与讨论 3.1 结果
在这一部分,你可以对你的项目结果适当的进行截图展示和说明。
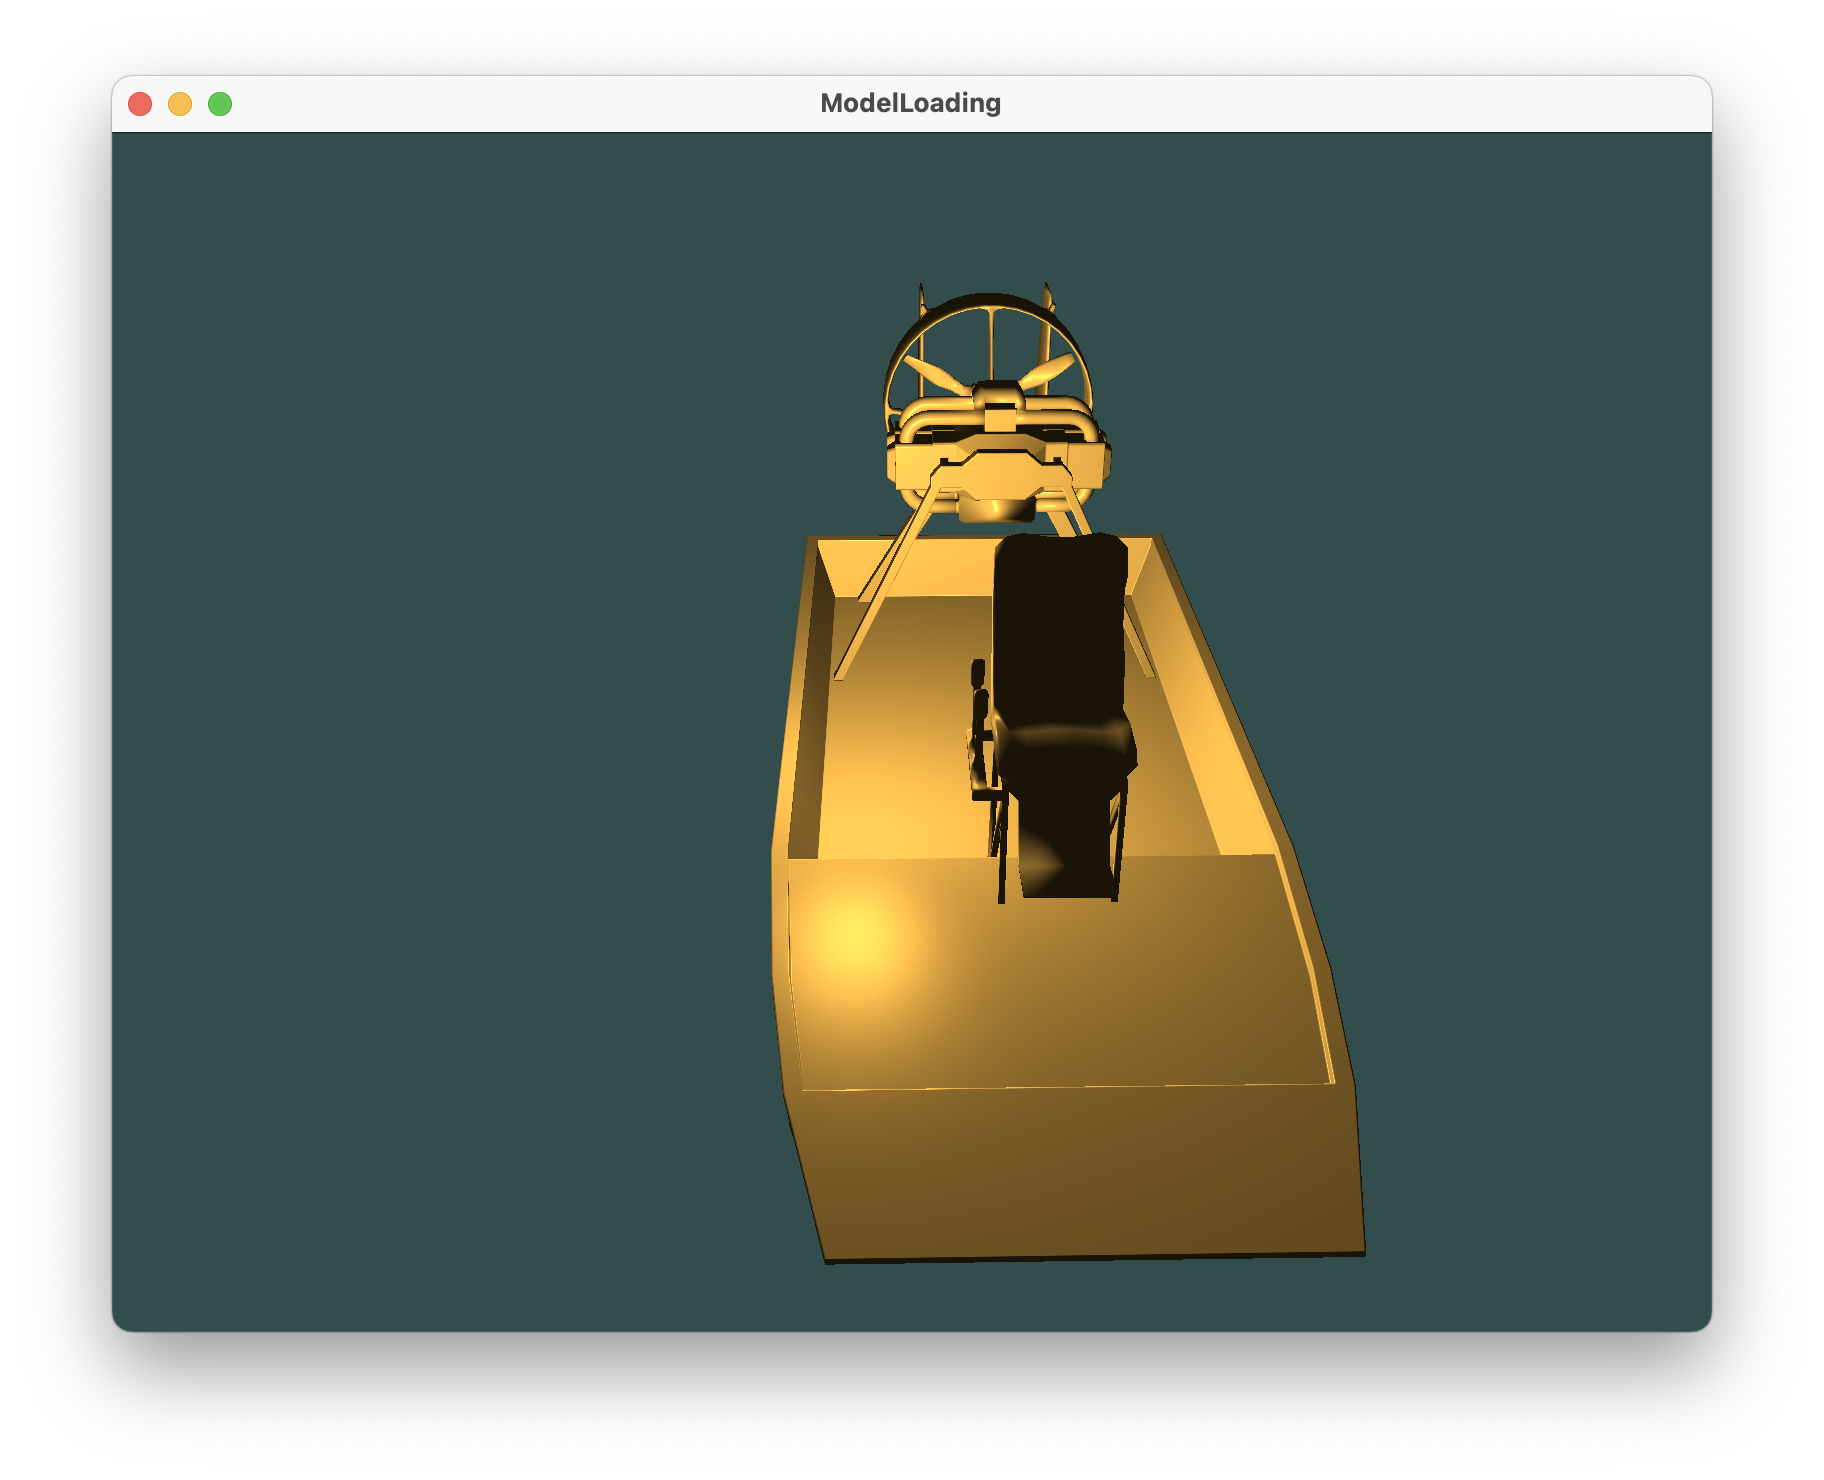
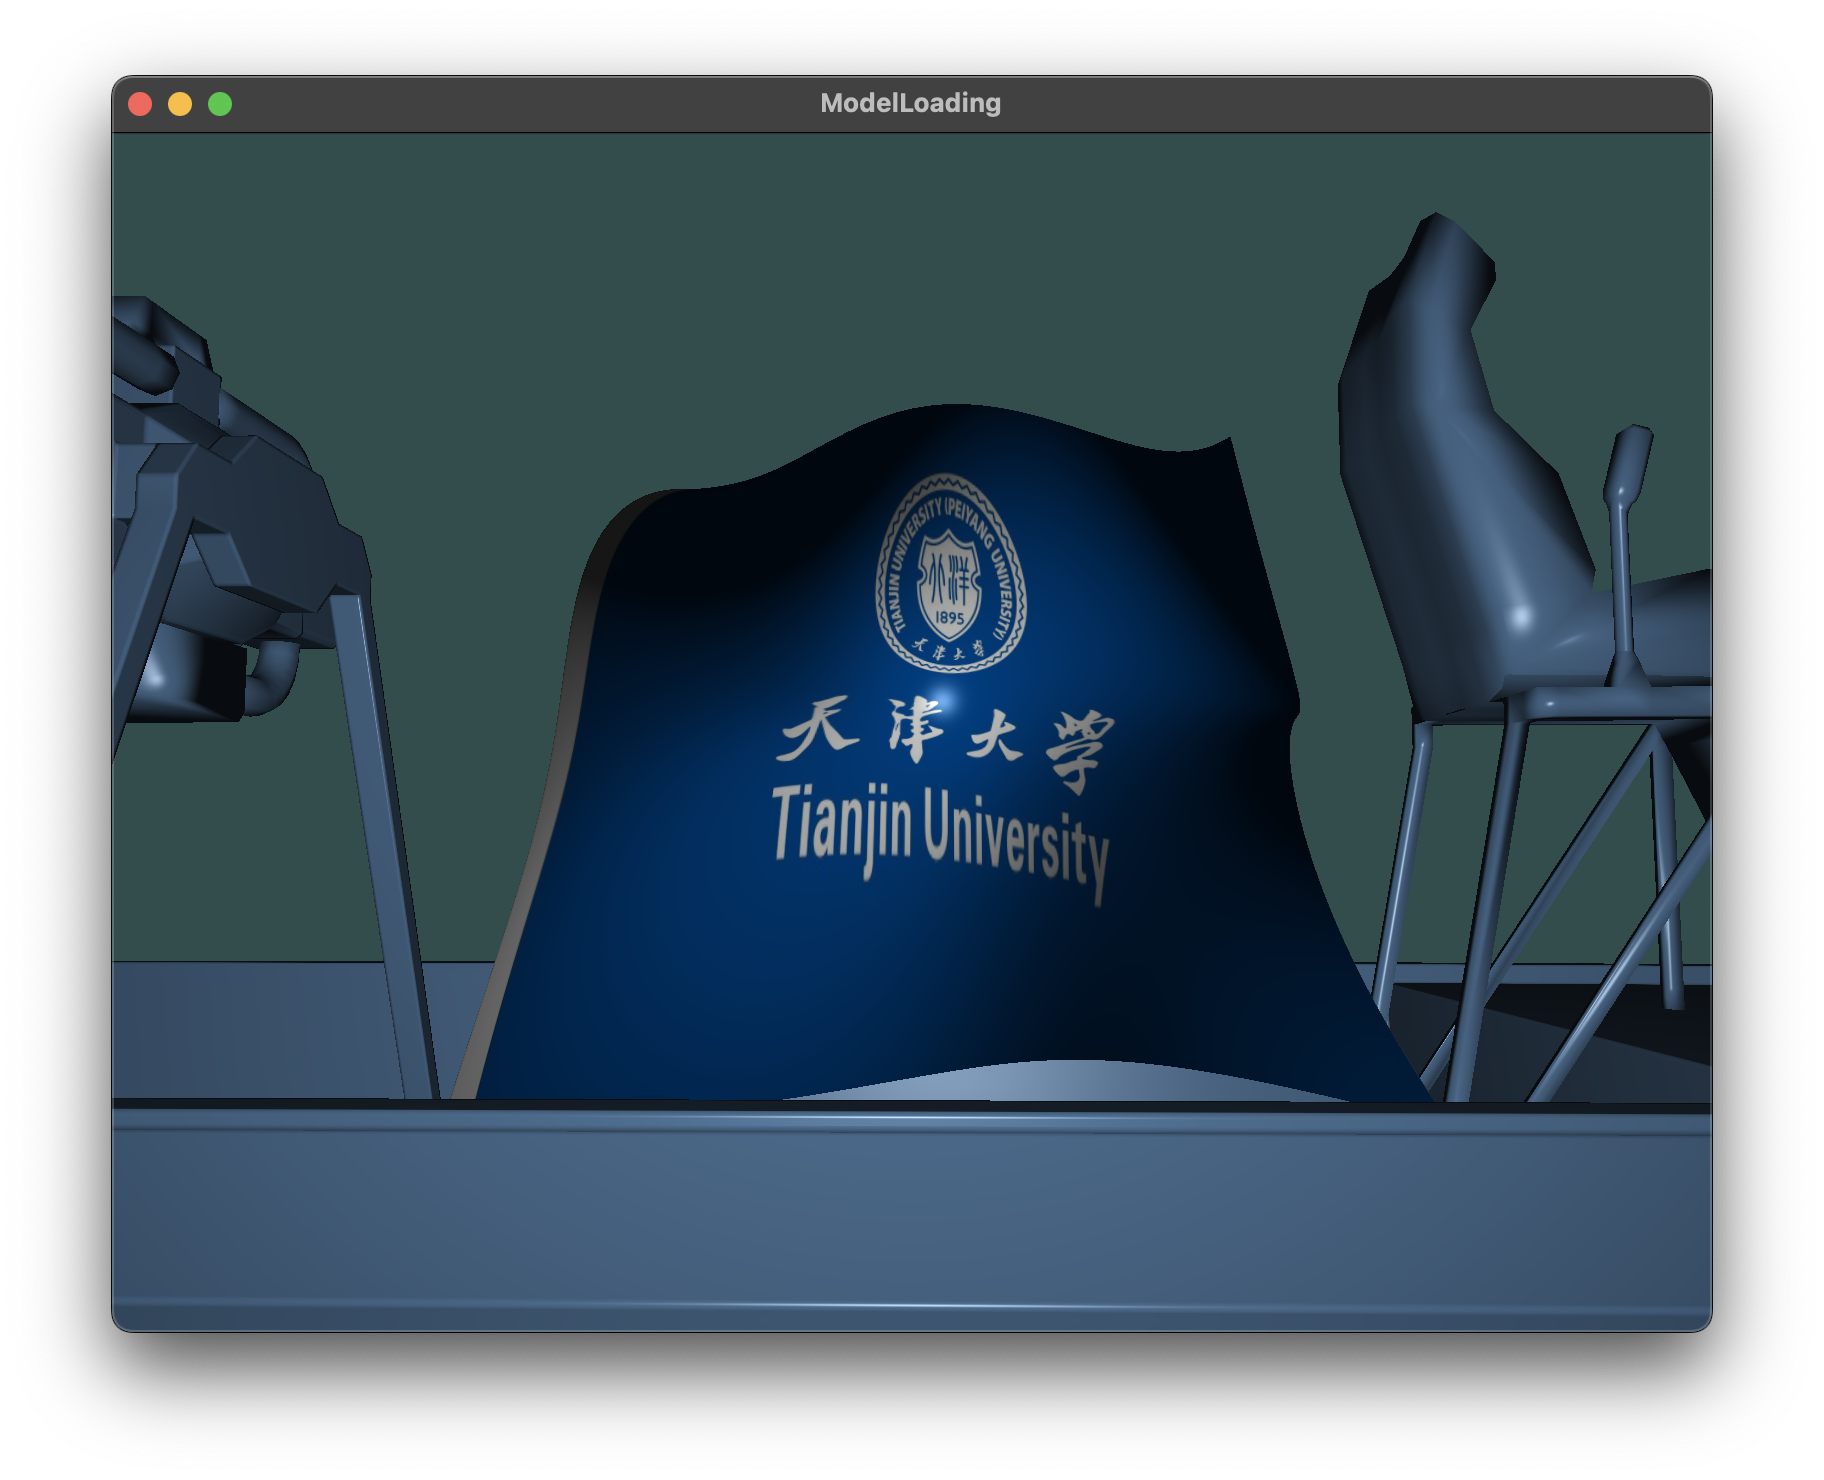
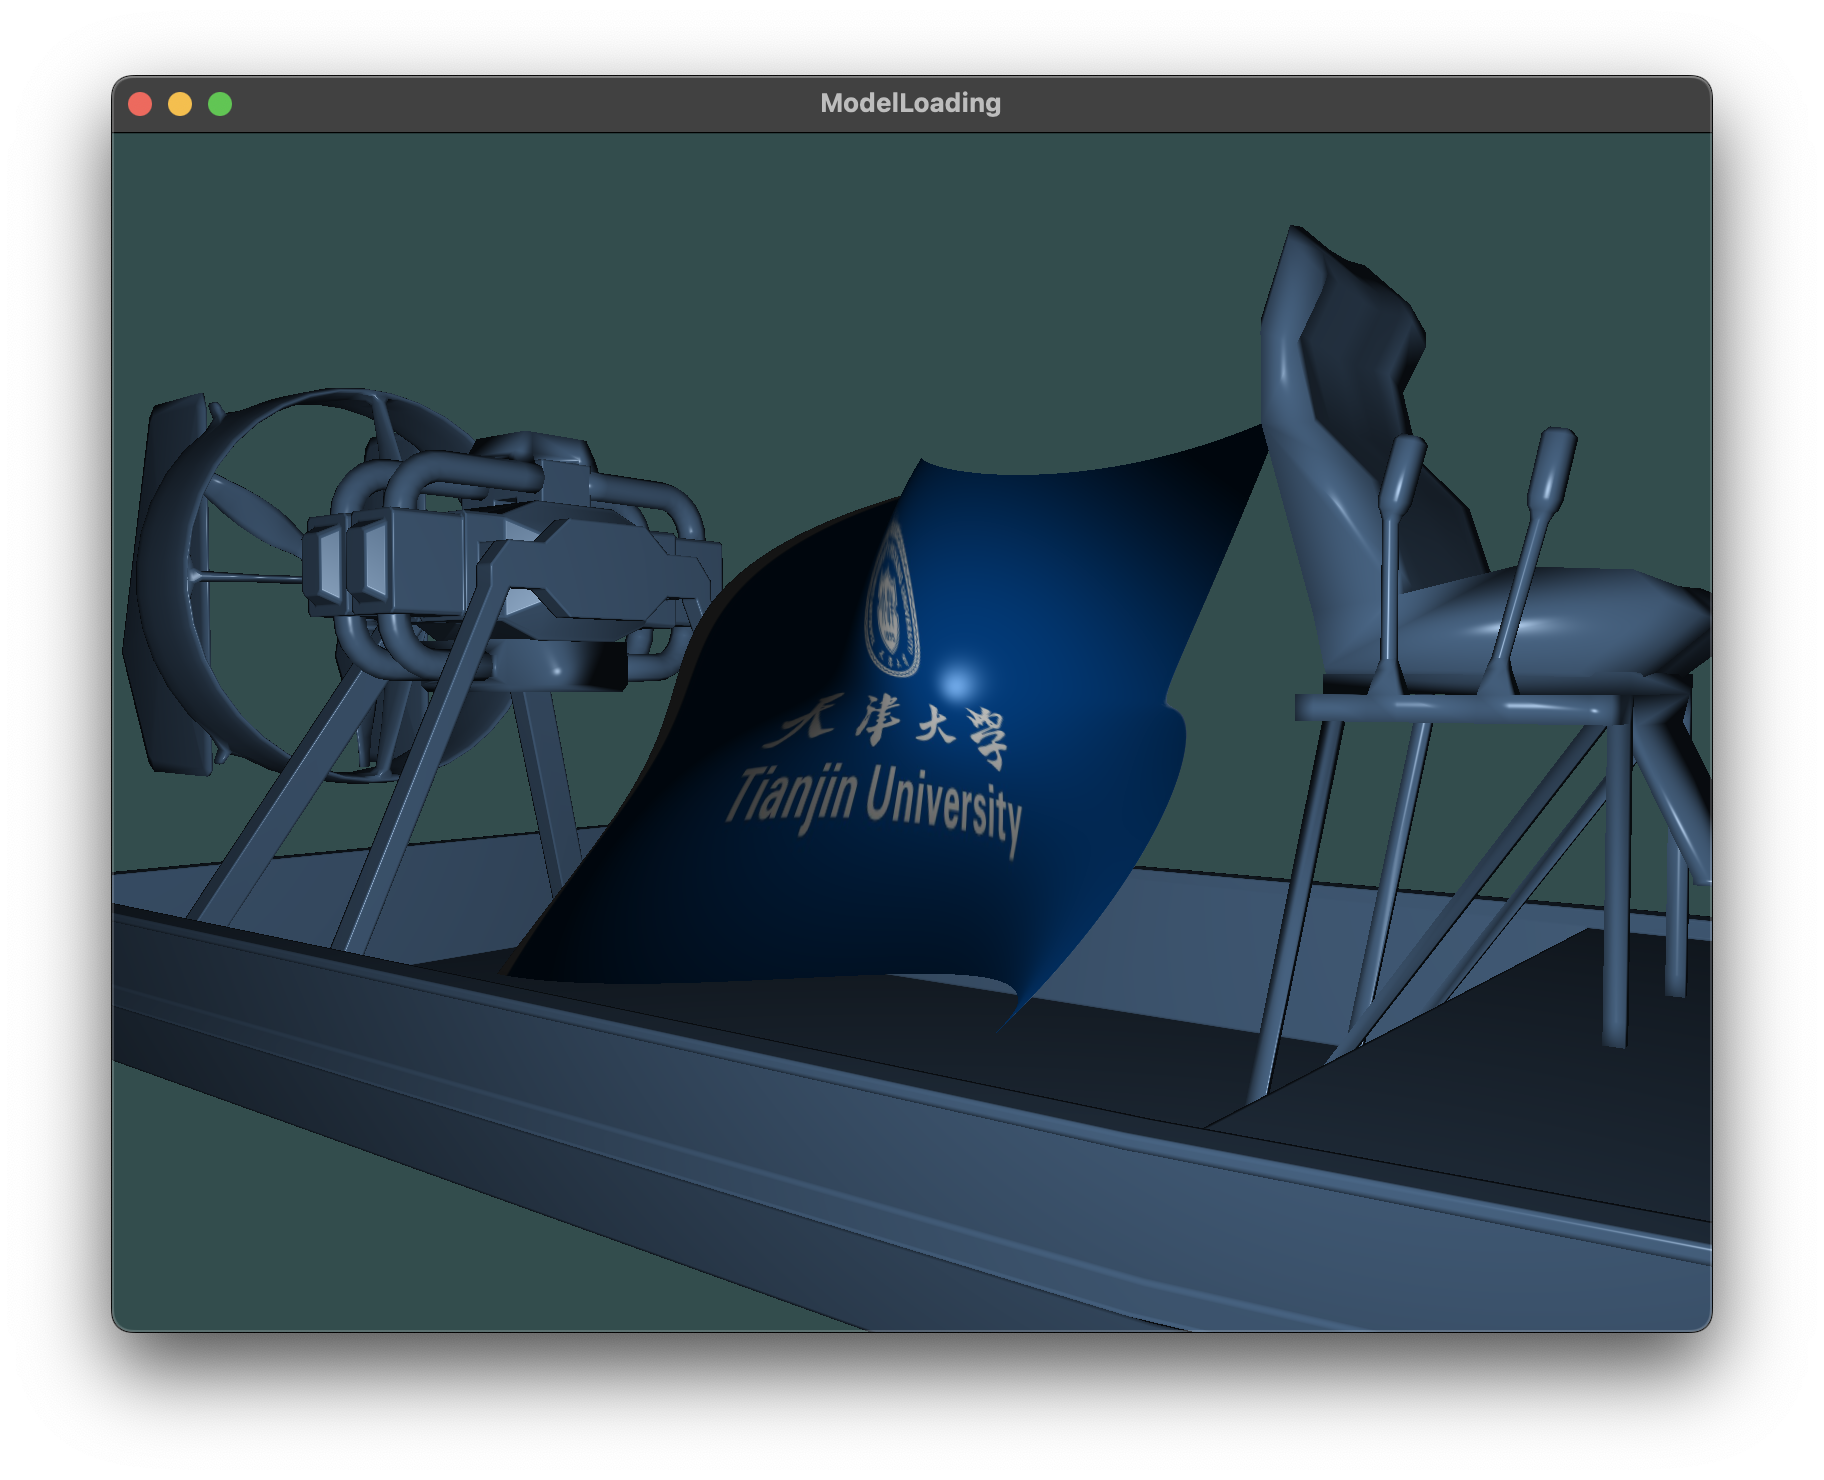
Bezier曲面, 贴图天津大学校旗图案展示
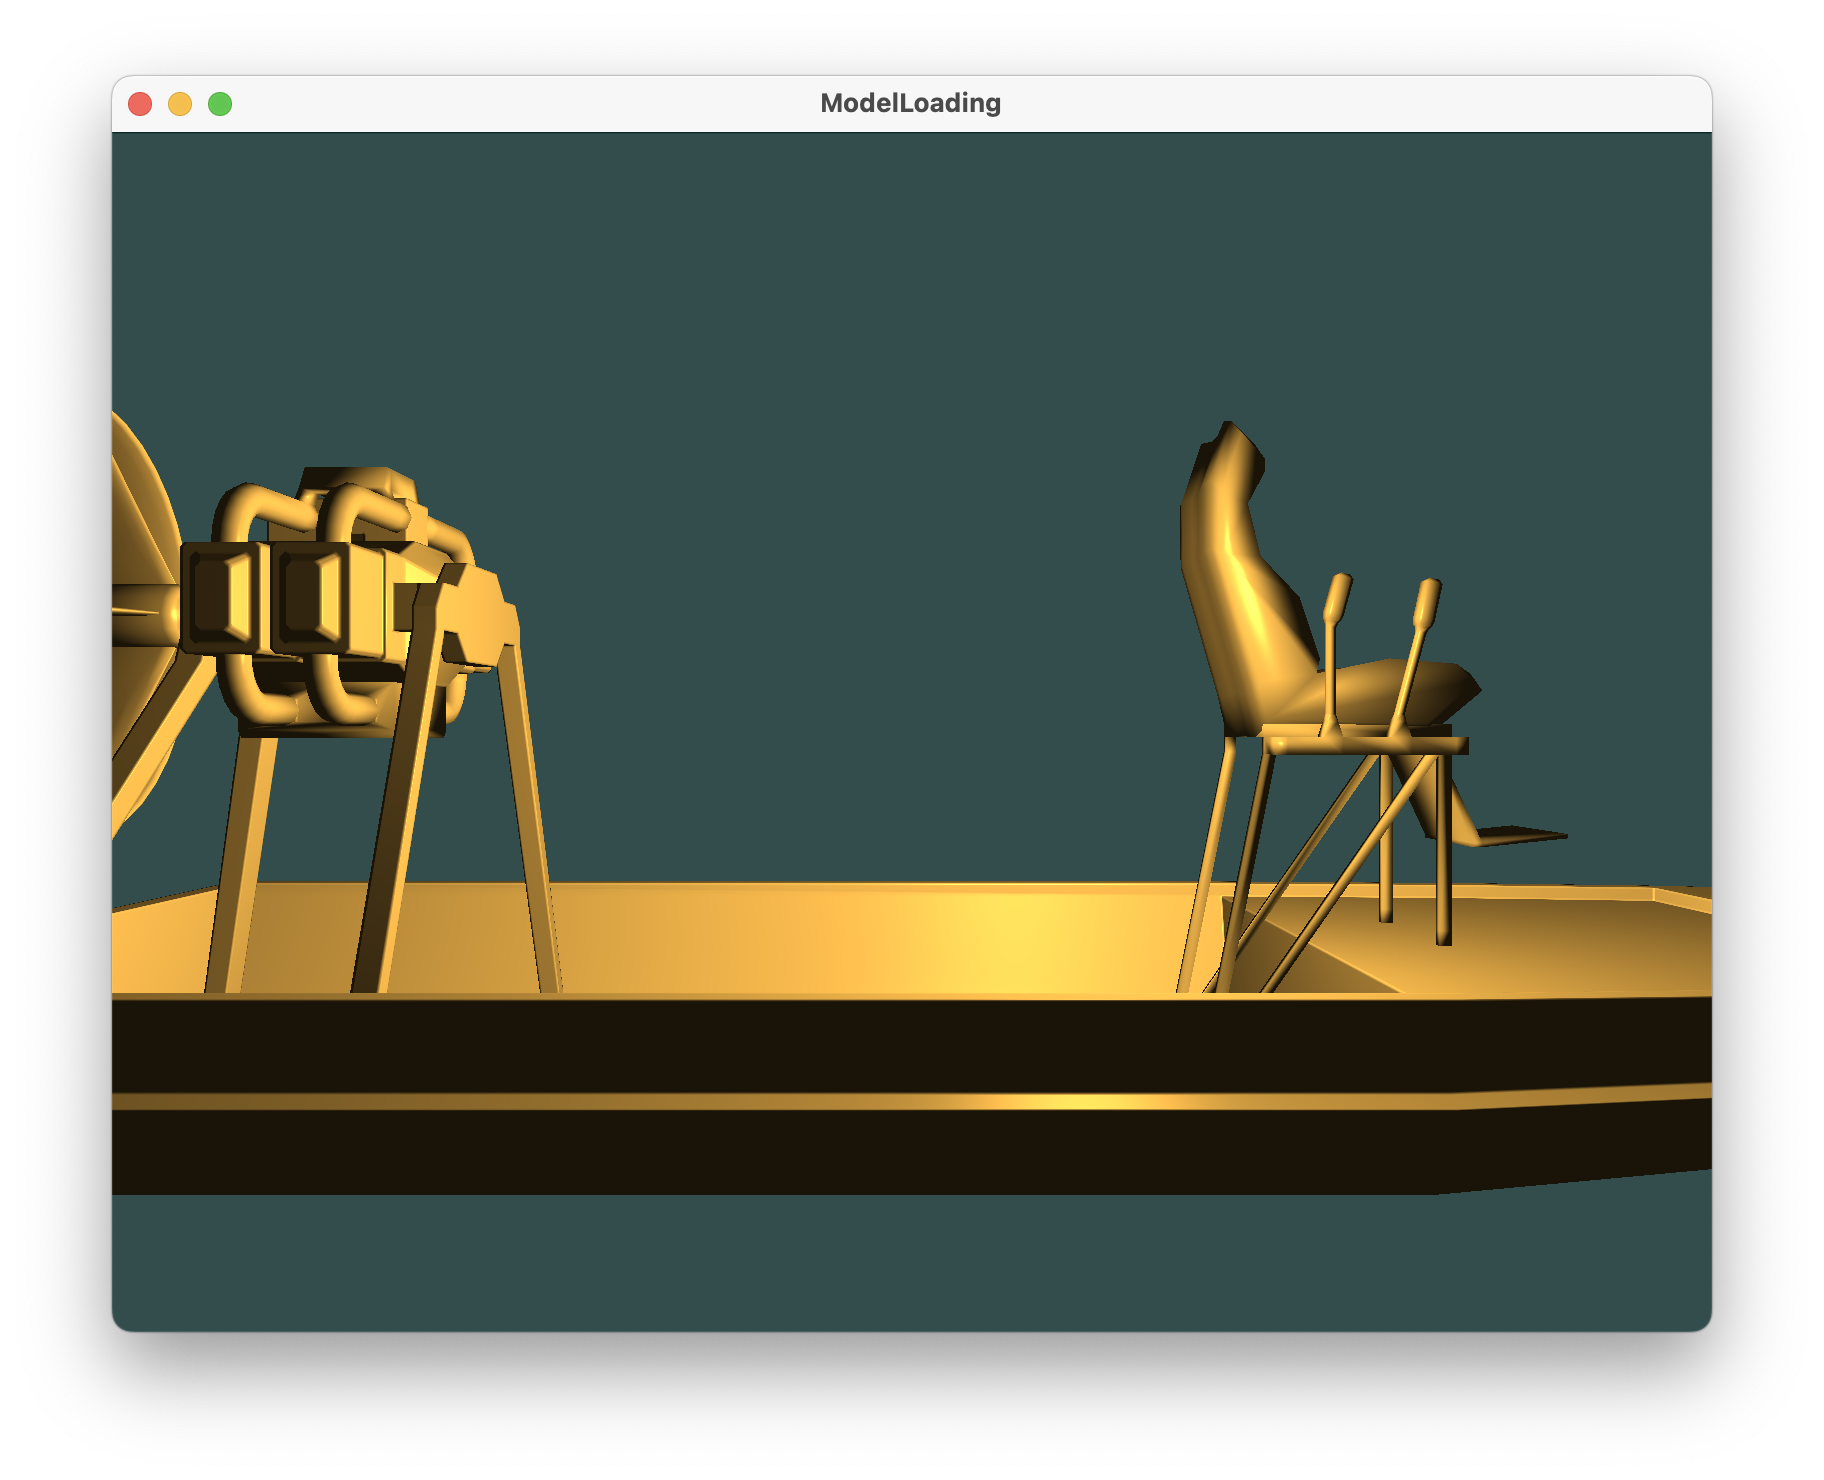
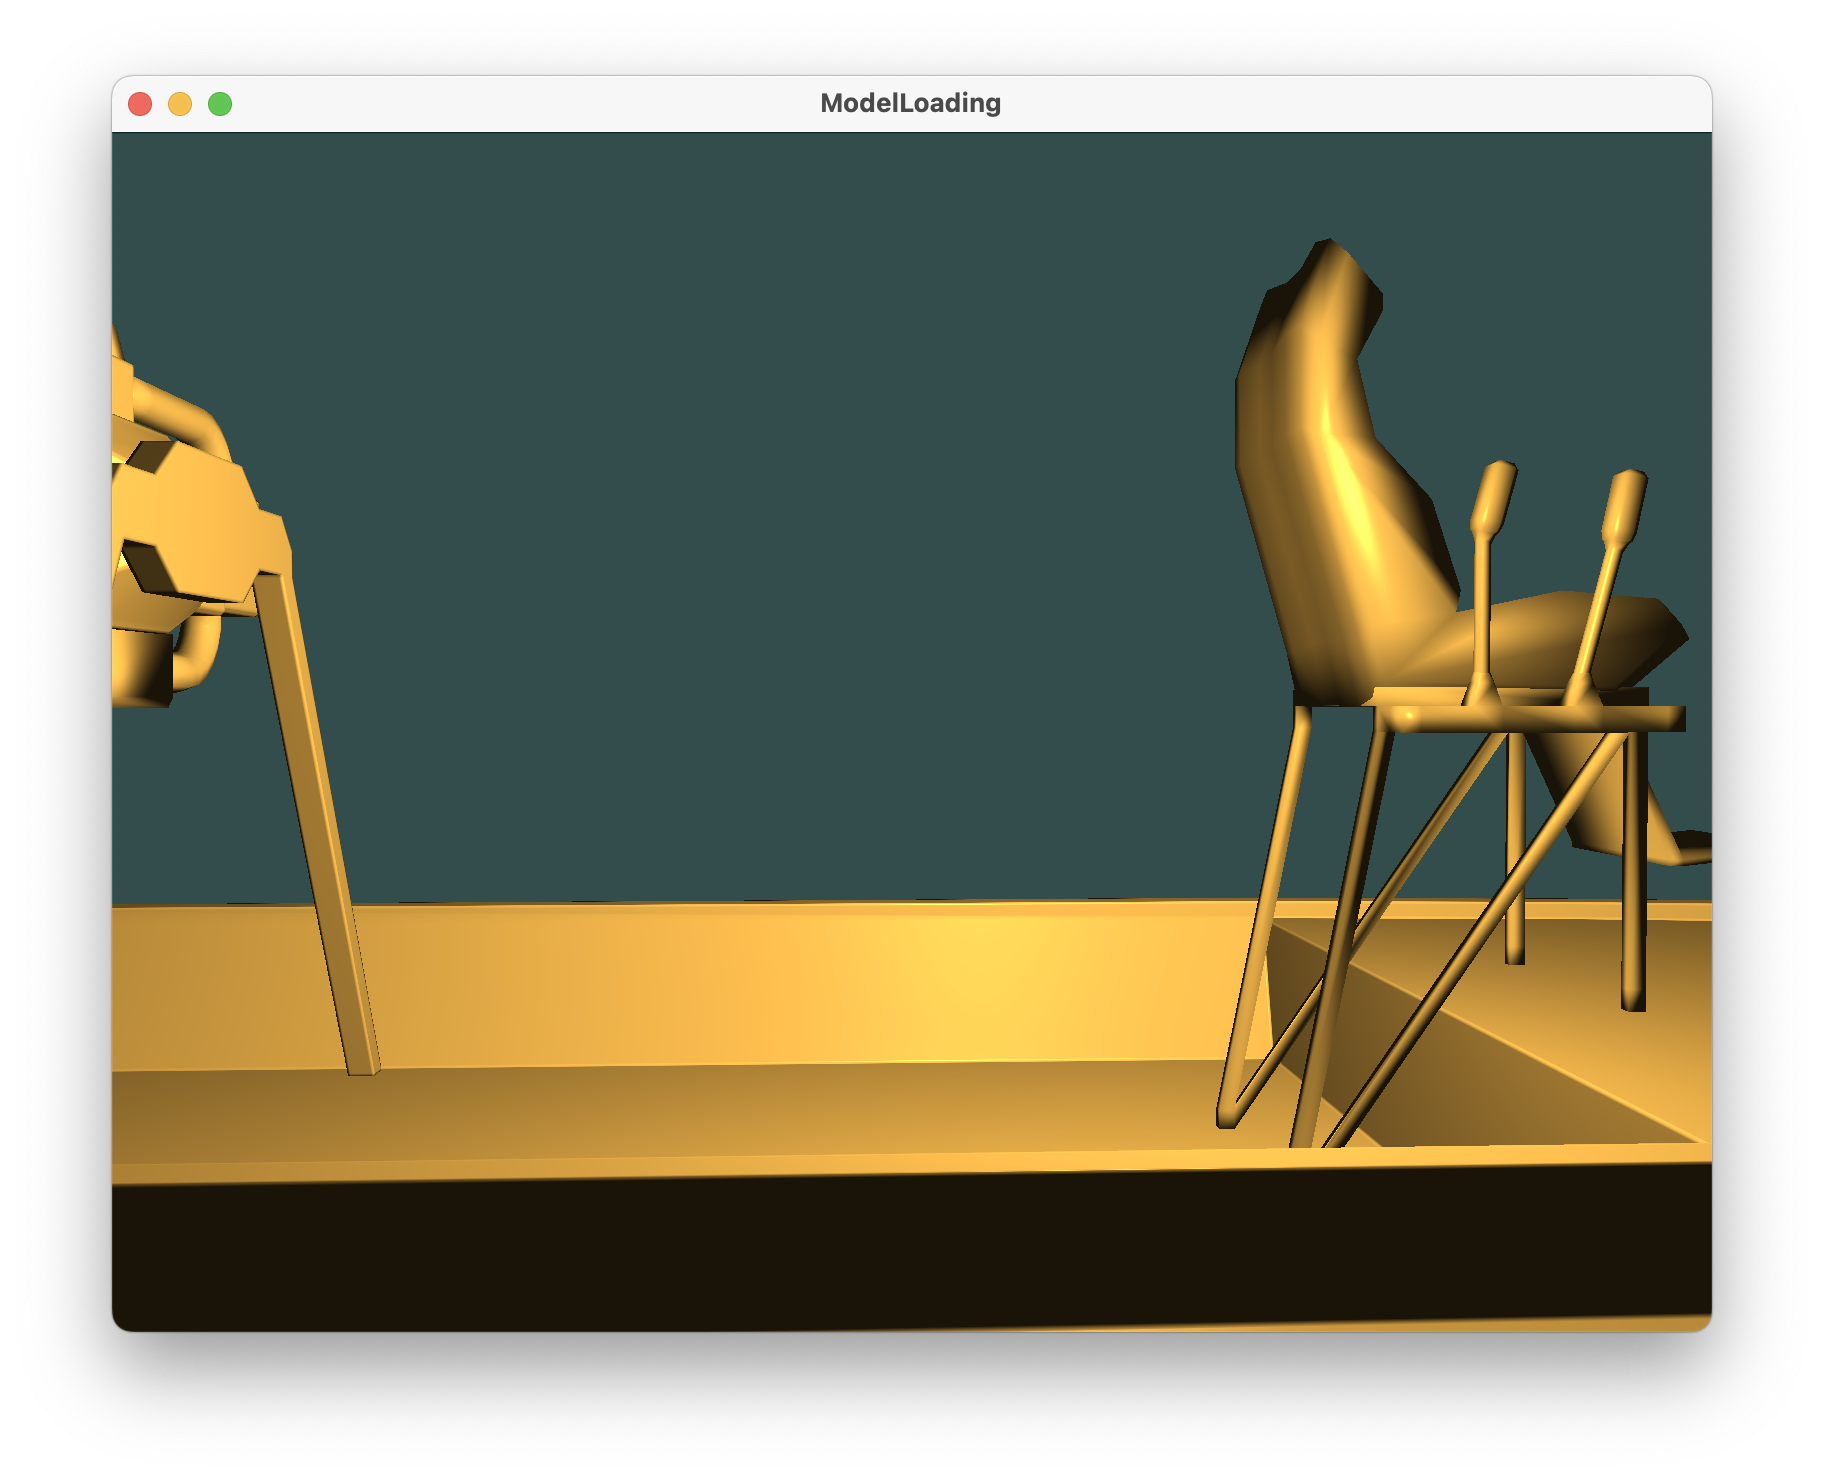
通过调整相机远近, 可以看到完整模型与Bezier曲面
同时可以通过键盘鼠标操作旋转视角
3.2 讨论
在这一部分,你需要对你在开发过程中遇到的一些困难进行描述和你是如何攻克的,在方法上和结果上展开叙述。
在实现Bezier曲面时,我面临了一些挑战。首先,我需要考虑如何加载和处理控制点。Bezier曲面通常由控制点定义,因此我需要找到一种有效的方式来加载这些控制点。我采取了以下措施来解决这些问题:
数据结构选择 :我选择了适当的数据结构,使用二维数组来存储控制点,以便能够轻松地访问和操作它们。数据输入 :我考虑了数据的来源,可以是文件、用户输入或通过程序生成。我实现了文件格式的解析,以便从文件加载控制点。Bezier曲面算法 :我深入学习了Bezier曲面的计算算法,以确保我能够正确生成曲面。纹理贴图 :在为Bezier曲面应用纹理贴图时,我必须考虑如何映射纹理坐标到曲面上。这可能涉及到在曲面上创建UV映射或使用其他技术,以确保纹理正确贴合曲面。
整合Bezier曲面和实验一的困难 :
整合Bezier曲面和实验一是另一个具有挑战性的任务。最初,我发现两者无法同时显示出来,这可能是因为没有正确地绑定和解绑VAO导致的。为了解决这个问题,我采取了以下措施:
VAO和渲染状态 :我确保了解OpenGL渲染管线的工作方式,以及如何正确地绑定和解绑VAO。通过及时的绑定和解绑VAO,我成功地整合了Bezier曲面和实验一,使它们能够同时显示。
1 2 3 glBindVertexArray (VAO);glDrawArrays (GL_TRIANGLES, 0 , myBezier.getNumIndices ());glBindVertexArray (0 );
Shader程序 :我确保两者之间的着色器程序设置和变量传递是正确的。在调试过程中,我检查了着色器程序是否编译和链接成功,并确保正确传递了变量和纹理。
OpenGL状态管理 :我了解了OpenGL的状态管理,包括混合、深度测试、清除颜色缓冲等。在整合两者时,我确保了正确管理OpenGL状态,以避免不必要的问题。
坐标转换和变换 :我也考虑到了物体的变换,如旋转、平移或缩放,以确保这些变换适用于Bezier曲面,使它们在同一坐标系中正确呈现。
通过逐步调试和测试,我克服了这些挑战,成功地将Bezier曲面整合到实验一中,以实现更复杂的图形应用程序。这个过程不仅增加了我的对OpenGL和图形编程的理解,还提高了我的解决问题和整合不同组件的能力。这一章的详细描述将有助于读者了解我在实验中面对的挑战以及我是如何成功应对它们。
4. 收获和建议
课程收获,项目开发收获,课程建议等各个方面展开来叙述。内容上要有意义,量上要占整篇报告的10%左右。
在整个课程和项目开发过程中,我获得了许多宝贵的经验和知识,这些经验将对我产生深远的影响。以下是我在这个过程中的主要收获和一些建议:
课程收获 :
深入理解计算机图形学 :这门课程使我更深入地理解了计算机图形学的核心概念,包括OpenGL渲染管线、着色器编程、纹理映射等。我现在更清楚地知道如何创建和渲染三维图形。编程技能提升 :通过实际的项目开发,我不仅提高了C++编程技能,还学会了如何使用OpenGL进行图形编程。这些技能对我的编程能力产生了积极影响,不仅局限于图形学,还可应用于其他领域。
项目开发收获 :
Bezier曲面实现 :在这个项目中,我成功地实现了Bezier曲面的渲染,这是一个非常有挑战性的任务。我深入了解了Bezier曲面的数学原理,以及如何在OpenGL中实现它。
课程建议 :
更多实际练习 :尽管理论知识很重要,但更多的实际练习和项目可以更好地巩固学习。建议在课程中增加更多的实际编程和项目任务,以加强学生的实际编程技能。
总的来说,这门课程和项目开发经历为我提供了宝贵的机会,让我深入研究计算机图形学和图形编程。我相信我所获得的知识和技能将对我的学术和职业生涯产生长远的影响,同时也期待在未来的学术和职业发展中继续学习和成长。感谢这个精彩的学习经验!

 ##### 向前
 ##### 向后
 ##### 向上
 ##### 旋转